Since its launch in June 2024, it would be hard to believe that you’ve never heard of Kling AI. Its capacity to generate incredibly immersive, realistic, and detailed videos continues to make waves among online users. Even now, the platform keeps pushing boundaries.
Now, if you want to start using it for your own projects, stick around! I am about to turn you into a Kling AI expert in no time with this detailed how-to guide that leaves no stone unturned.
An Introduction to Kling AI
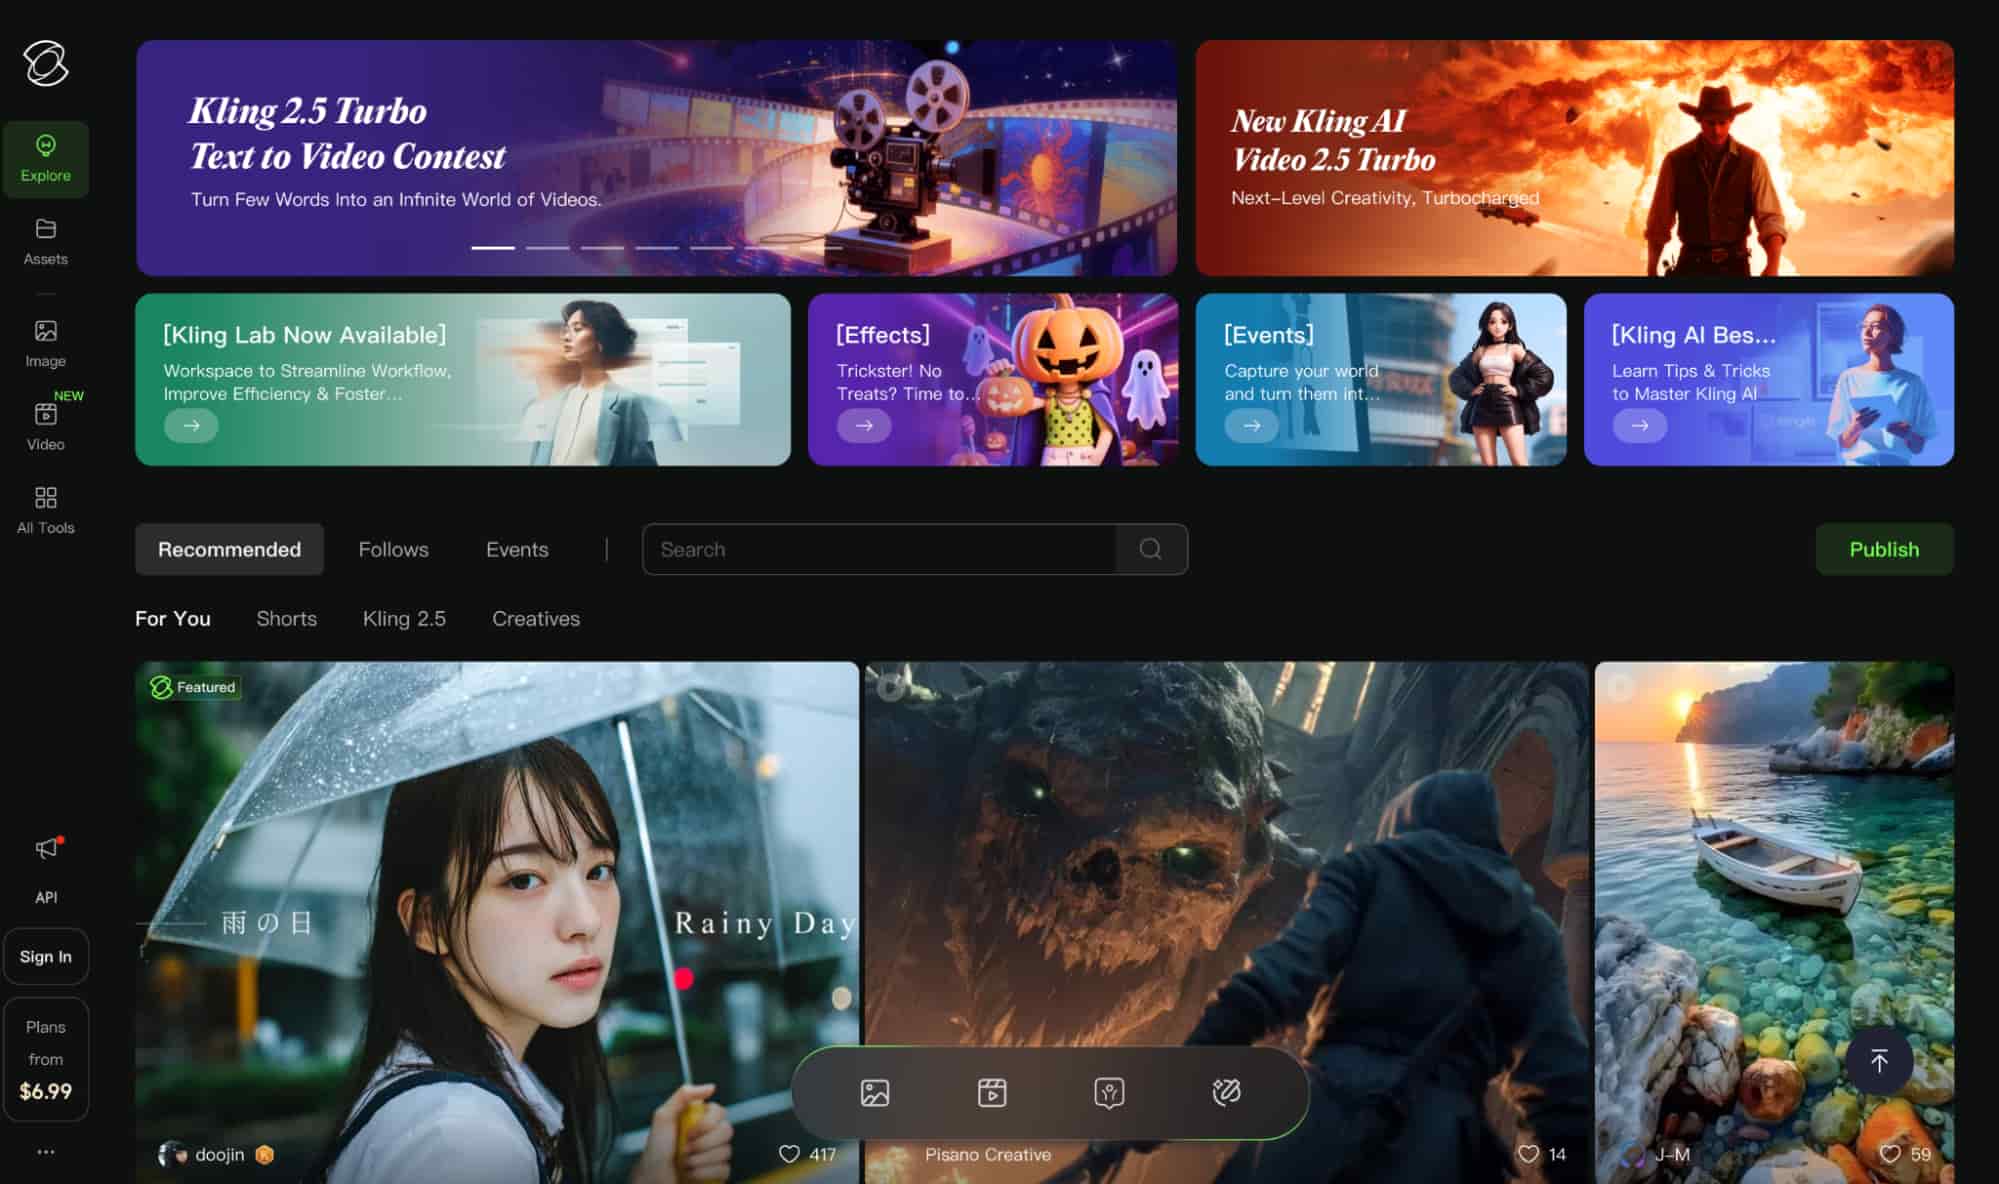
Renowned as an industry-leading AI video generator, Kling AI offers text-to-video and image-to-video capabilities, allowing you to produce cinematic scenes in any visual style.
In just the past year alone, the platform has continuously launched multiple AI video model iterations like 1.0, 1.5, 1.6, 2.0, and 2.1. However, the latest Kling AI 2.5 Turbo model has been the most impressive one yet.
With this new release, Kling AI provides superior dynamic motion, enhanced visual style consistency, improved prompt responsiveness, and greater camera control than ever before.
In this respect, some of Kling AI’s key features worth highlighting include:
- Text/Image-to-Video Generation: Produce cinematic-level videos via prompts or images
- Elements: Use multiple reference images of subjects/objects/settings to create videos
- Motion Control: Apply specific movements to characters in images
- AI Video Extender: Lengthen footage while maintaining visual and narrative consistency
- AI Lip Sync Generator: Match any video character’s lip movements with spoken audio
- AI Sound Effects Generator: Create unique sound effects or BGM
Having summed that up, it’s time for me to get into the how-to part of this guide!
How to Access Kling AI? And Does It Have a Free Plan?
First, head to the Kling AI official website and sign up for an account. Since the platform has both a website and a mobile app, you can feel free to use whichever one suits you best.
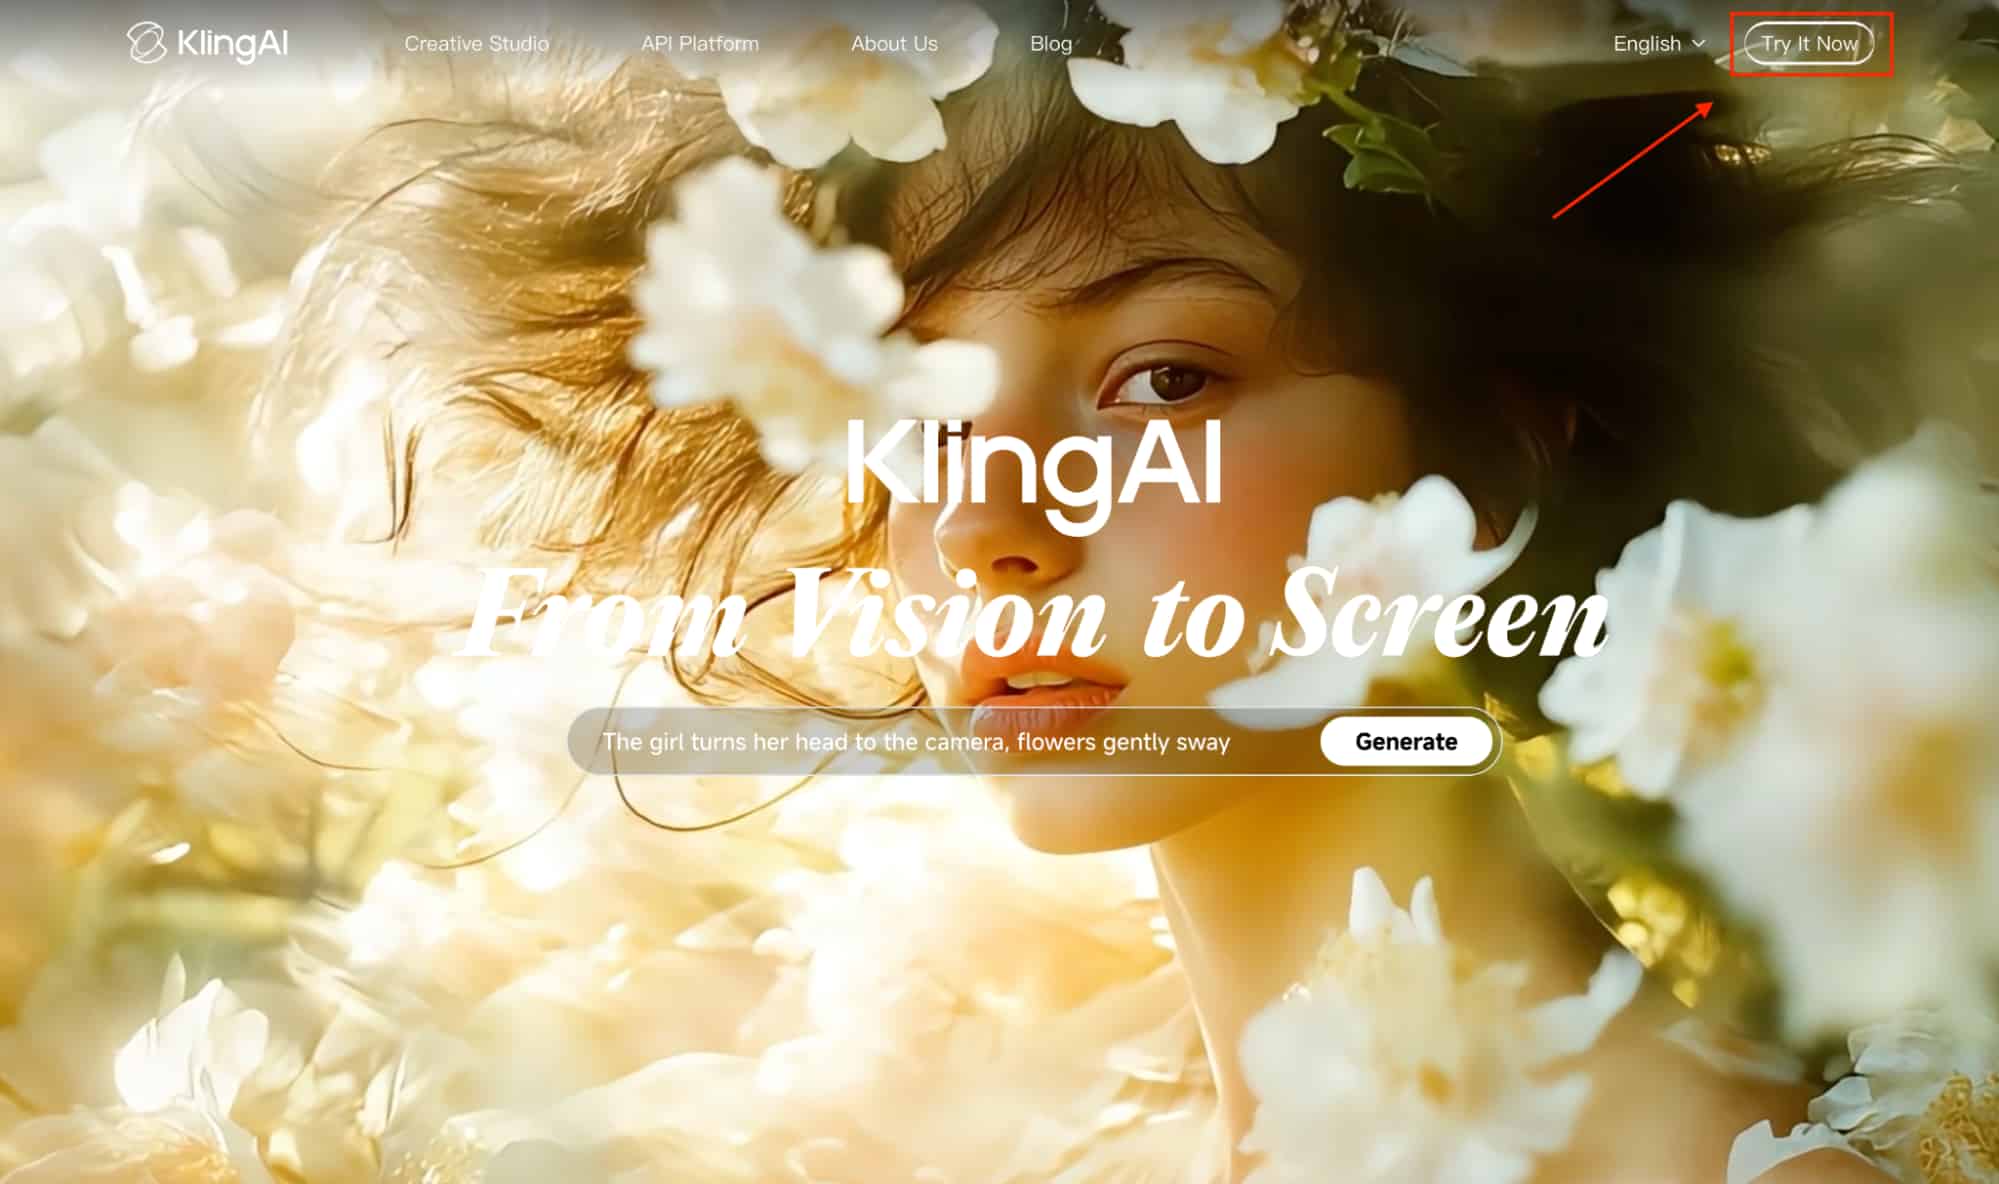
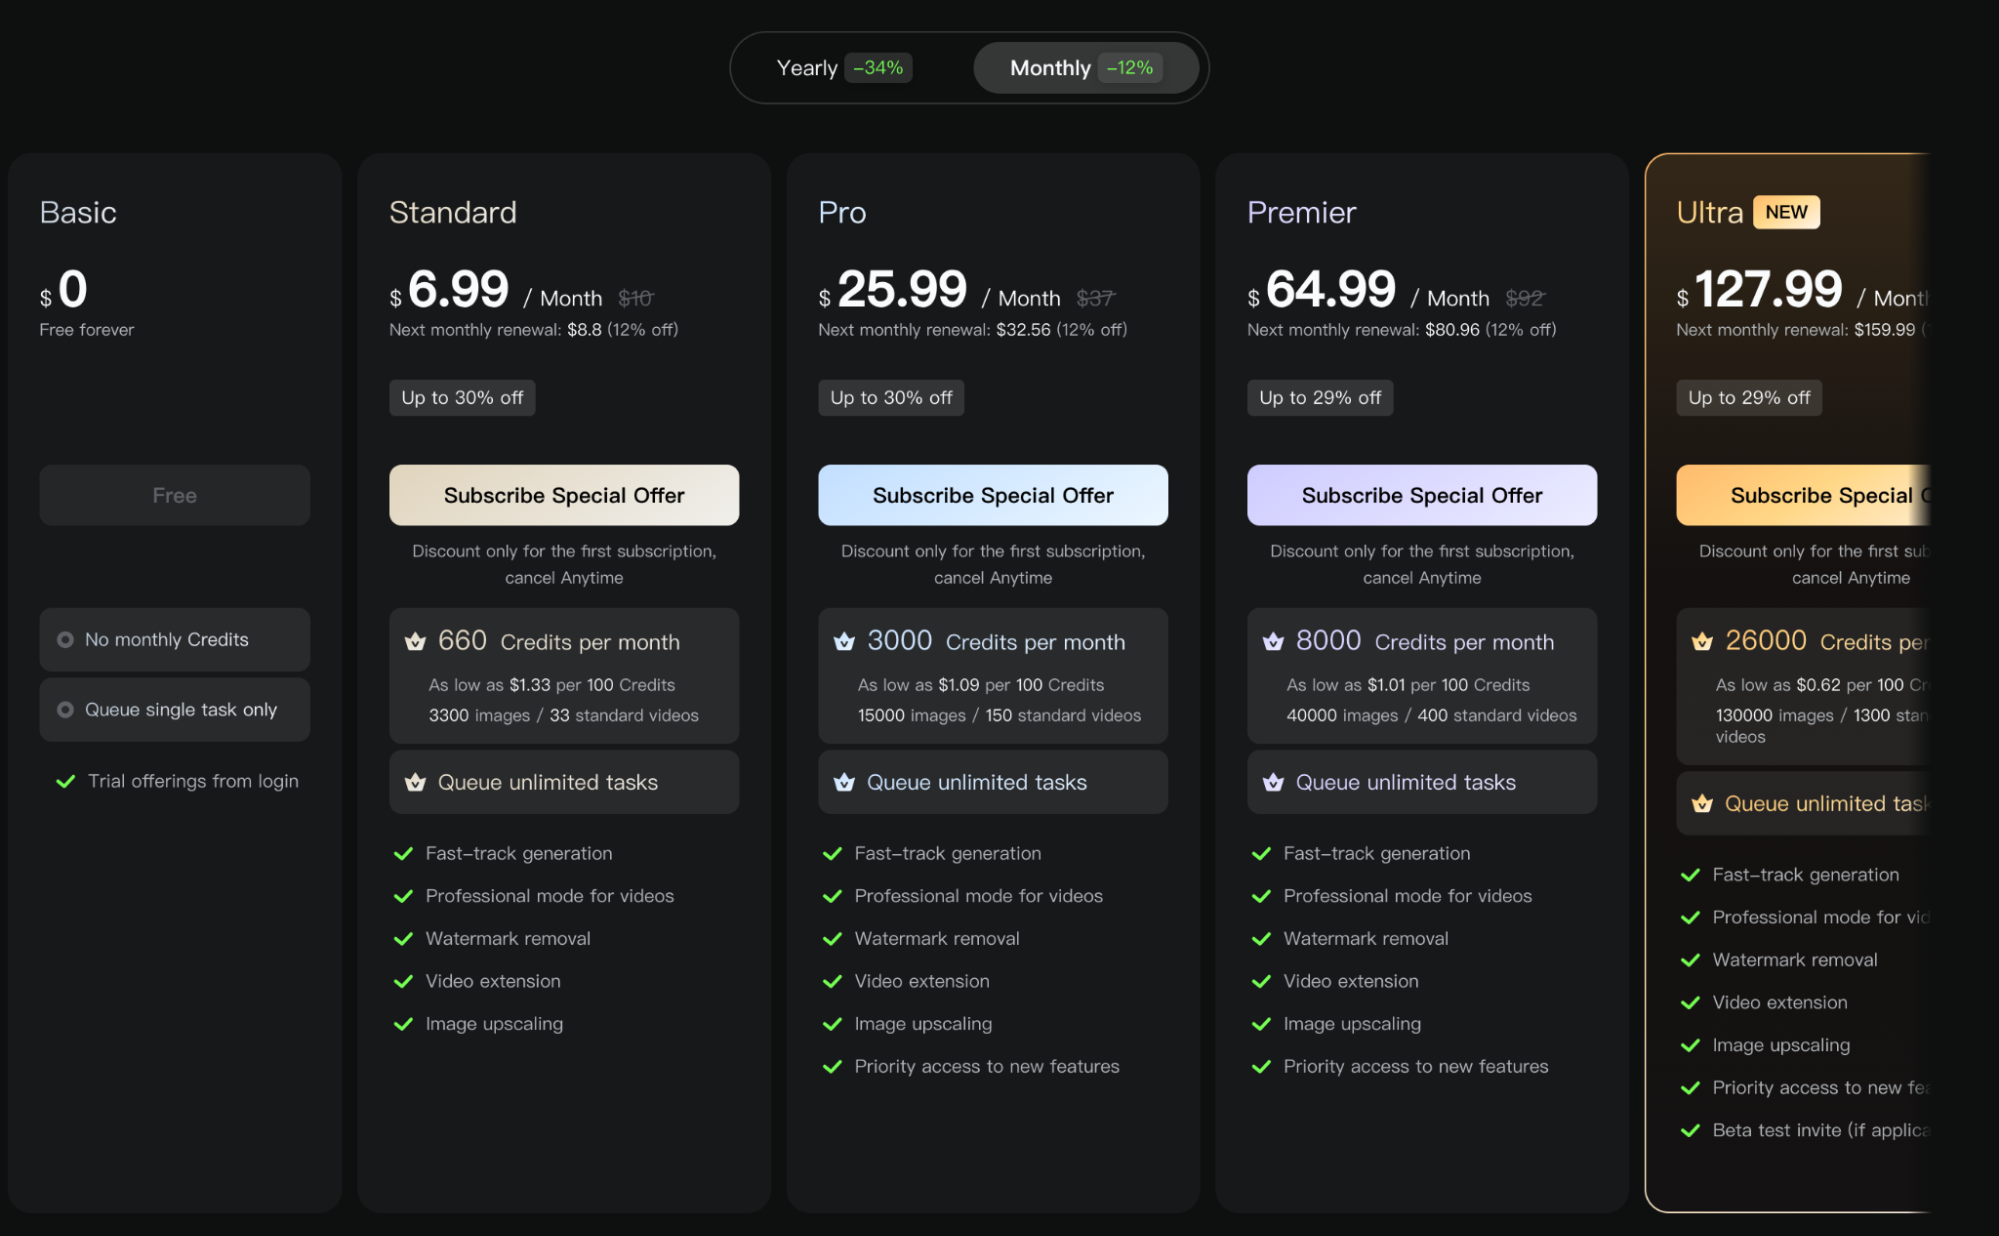
Since the platform does come with a free trial plan, as a new user, you’ll get to enjoy free monthly credits. This lets you explore some of its features. But for unlimited access, you’ll need a paid plan to unlock advanced features like faster generation and watermark-free outputs.
You can check out and compare the various pricing tiers below.
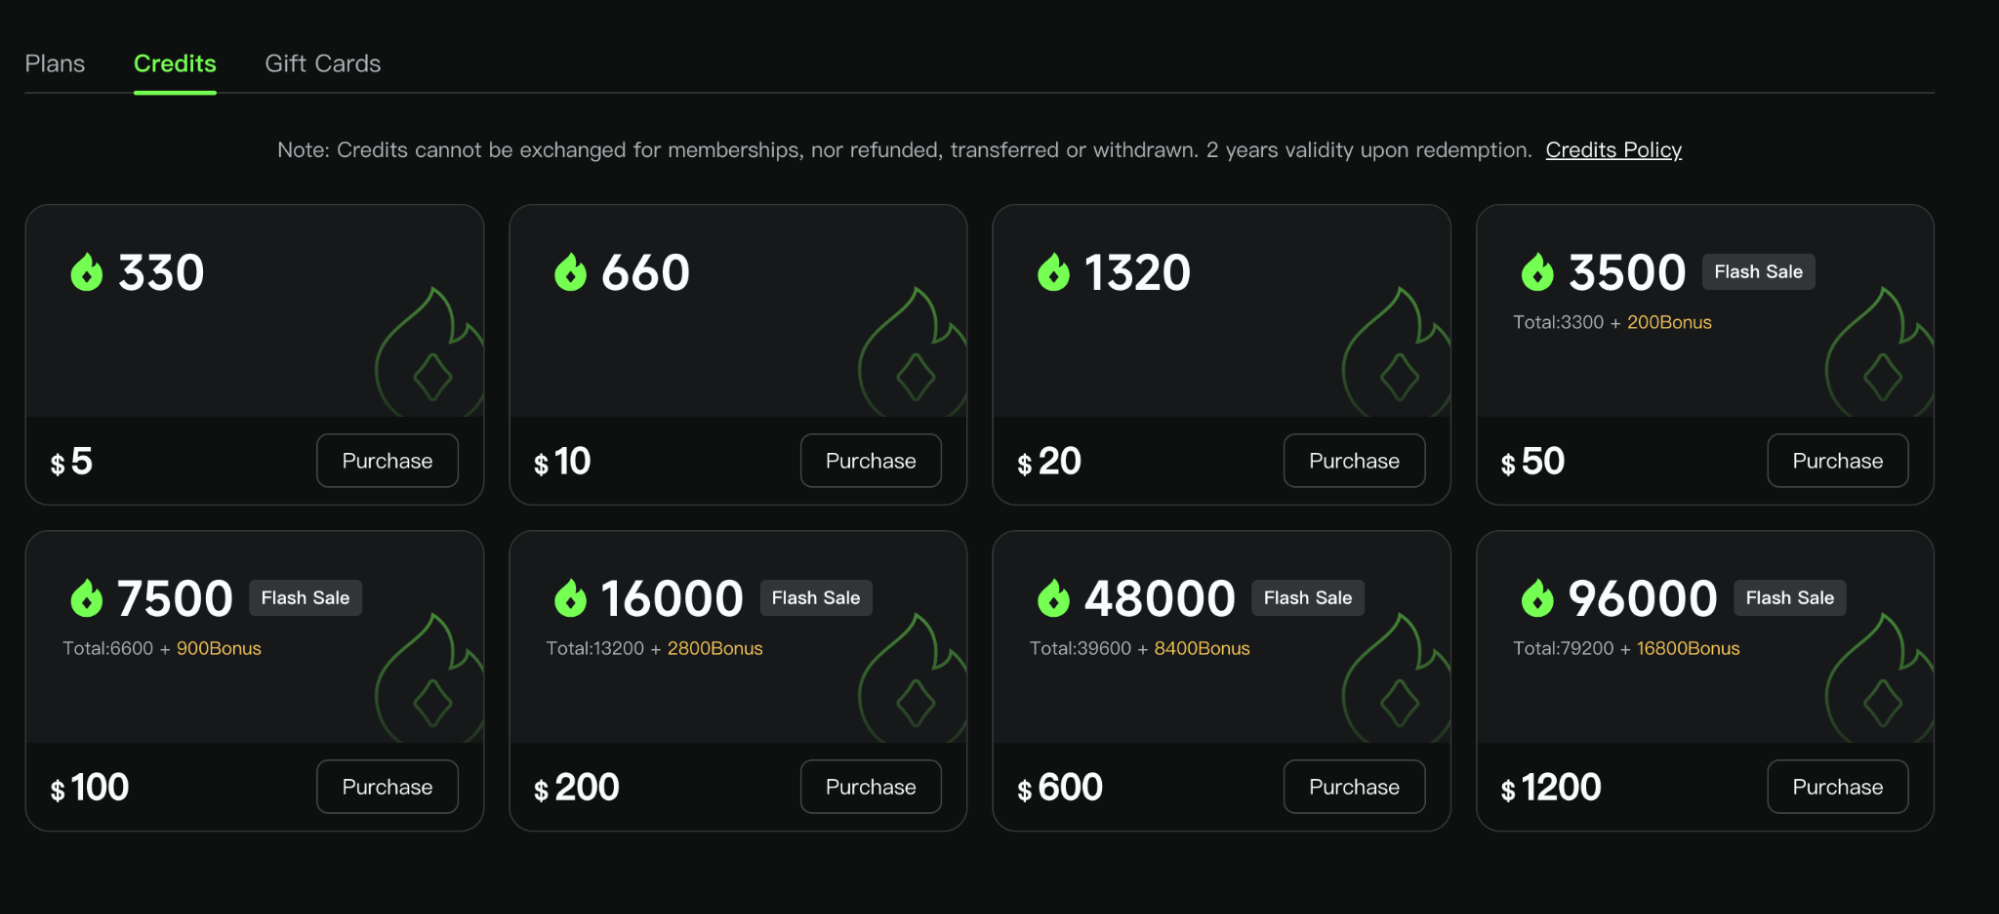
If you don’t intend on using Kling AI for daily video creation or have a limited budget, then I recommend purchasing limited ‘Credits’ as a cost-effective, one-time alternative.
How to Generate Videos with Kling AI?
There are two ways to generate videos on Kling AI.
The first is to use the text-to-video feature, which involves using descriptive prompts to produce videos from scratch. So, let’s break down how to use this option in a few steps:
Text-to-Video Generation
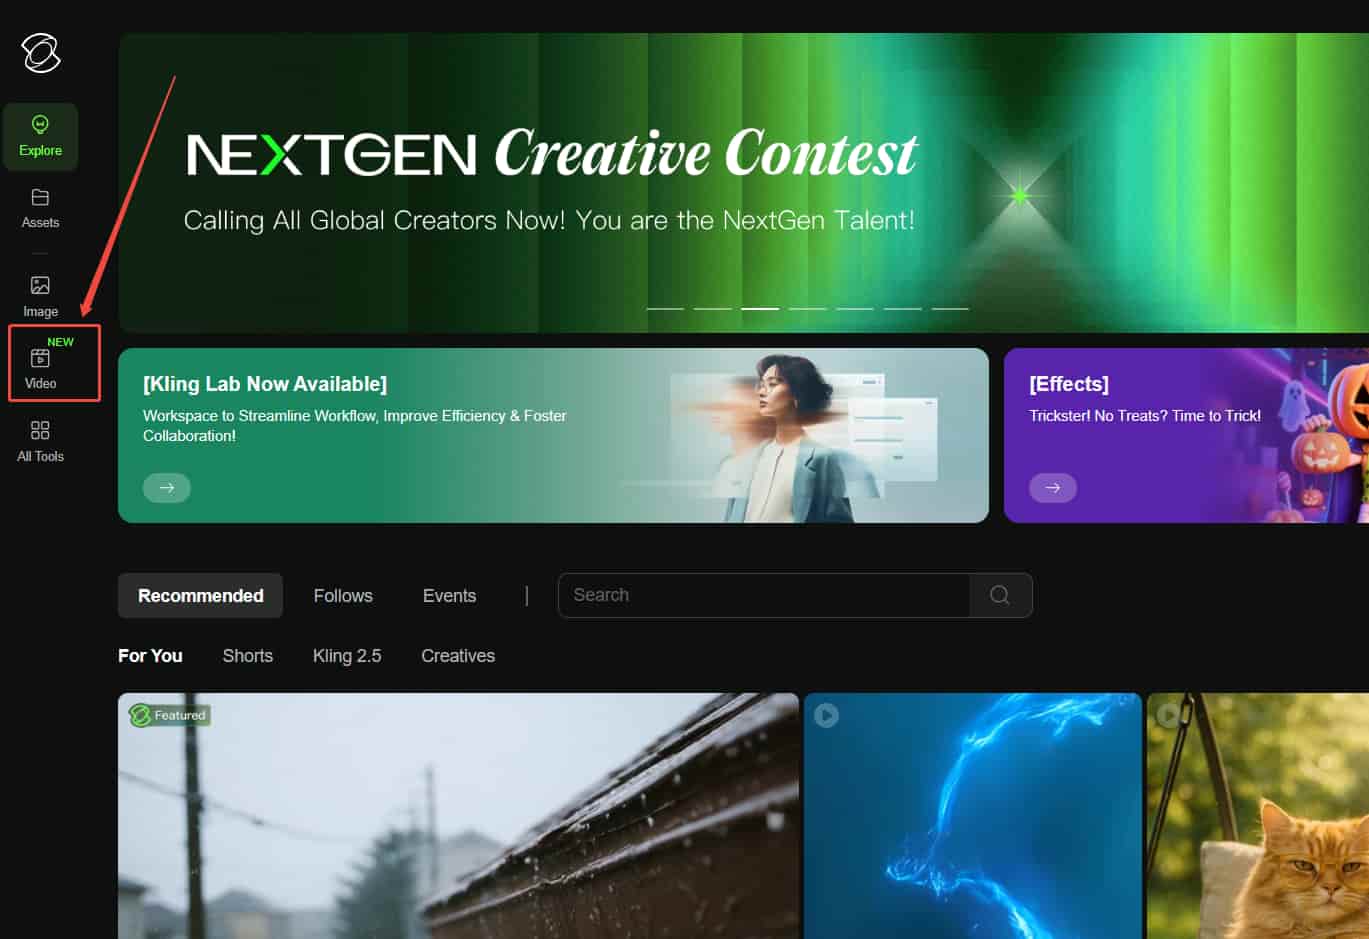
Step 1: On the Kling AI dashboard, look over to the sidebar and click on the ‘Video’ button. This will take you to the AI video generation tool.
Step 2: Next, click on ‘Text to Video’, choose an AI video model to use, and input a prompt. Try to be as detailed but concise as possible. I recommend using the prompt dictionary for a few guiding key terms or clicking on the DeepSeek AI chat assistant to polish your initial ideas.
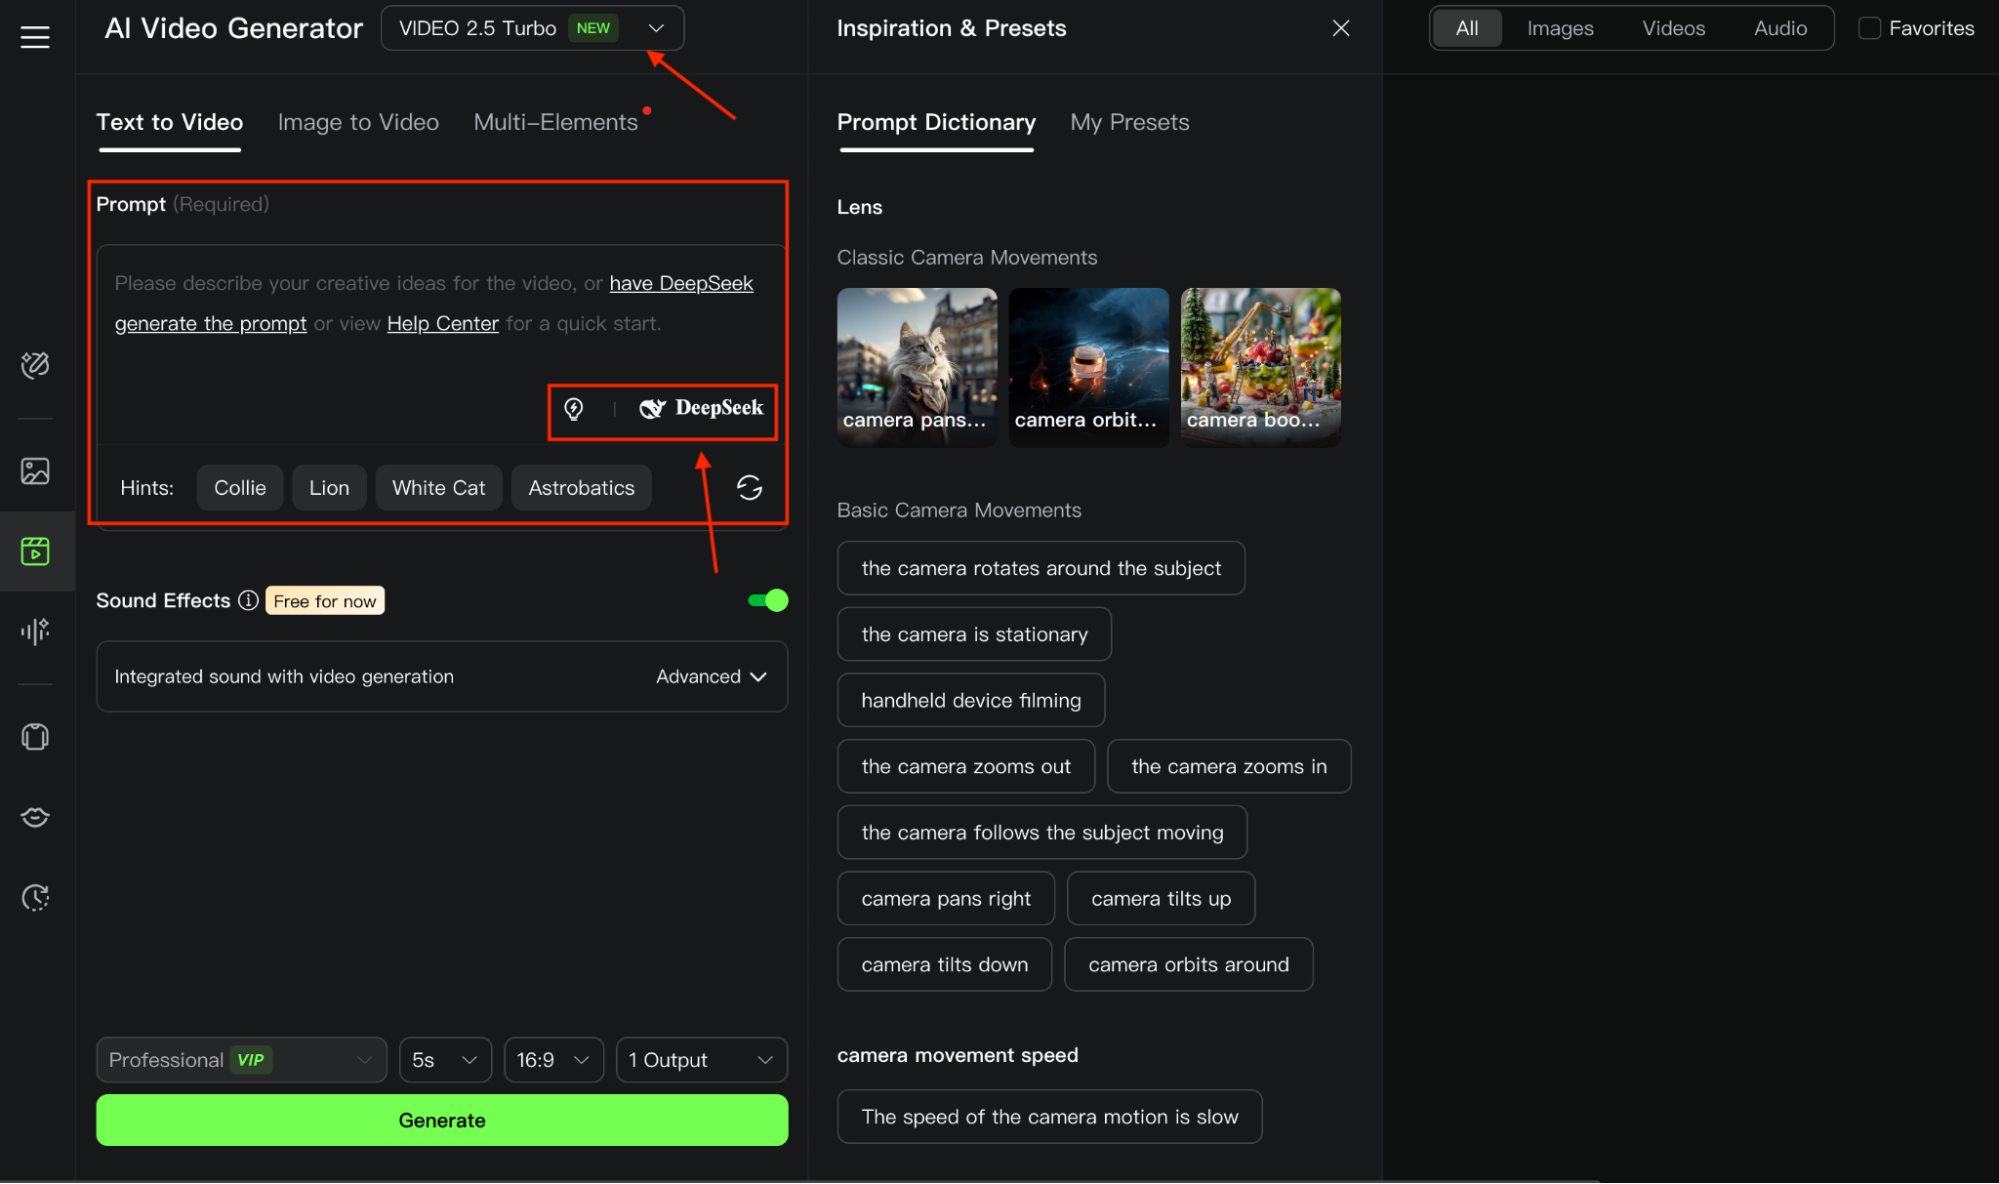
Also, a good format that I always follow is: a scene description + style details (lighting, aesthetic, time of day, etc) + camera motion instructions (zooms out, pans away, etc).
Step 3: Once you’re done crafting the prompt, you can choose to include background music or sound effects in your video by simply describing what you want to hear.
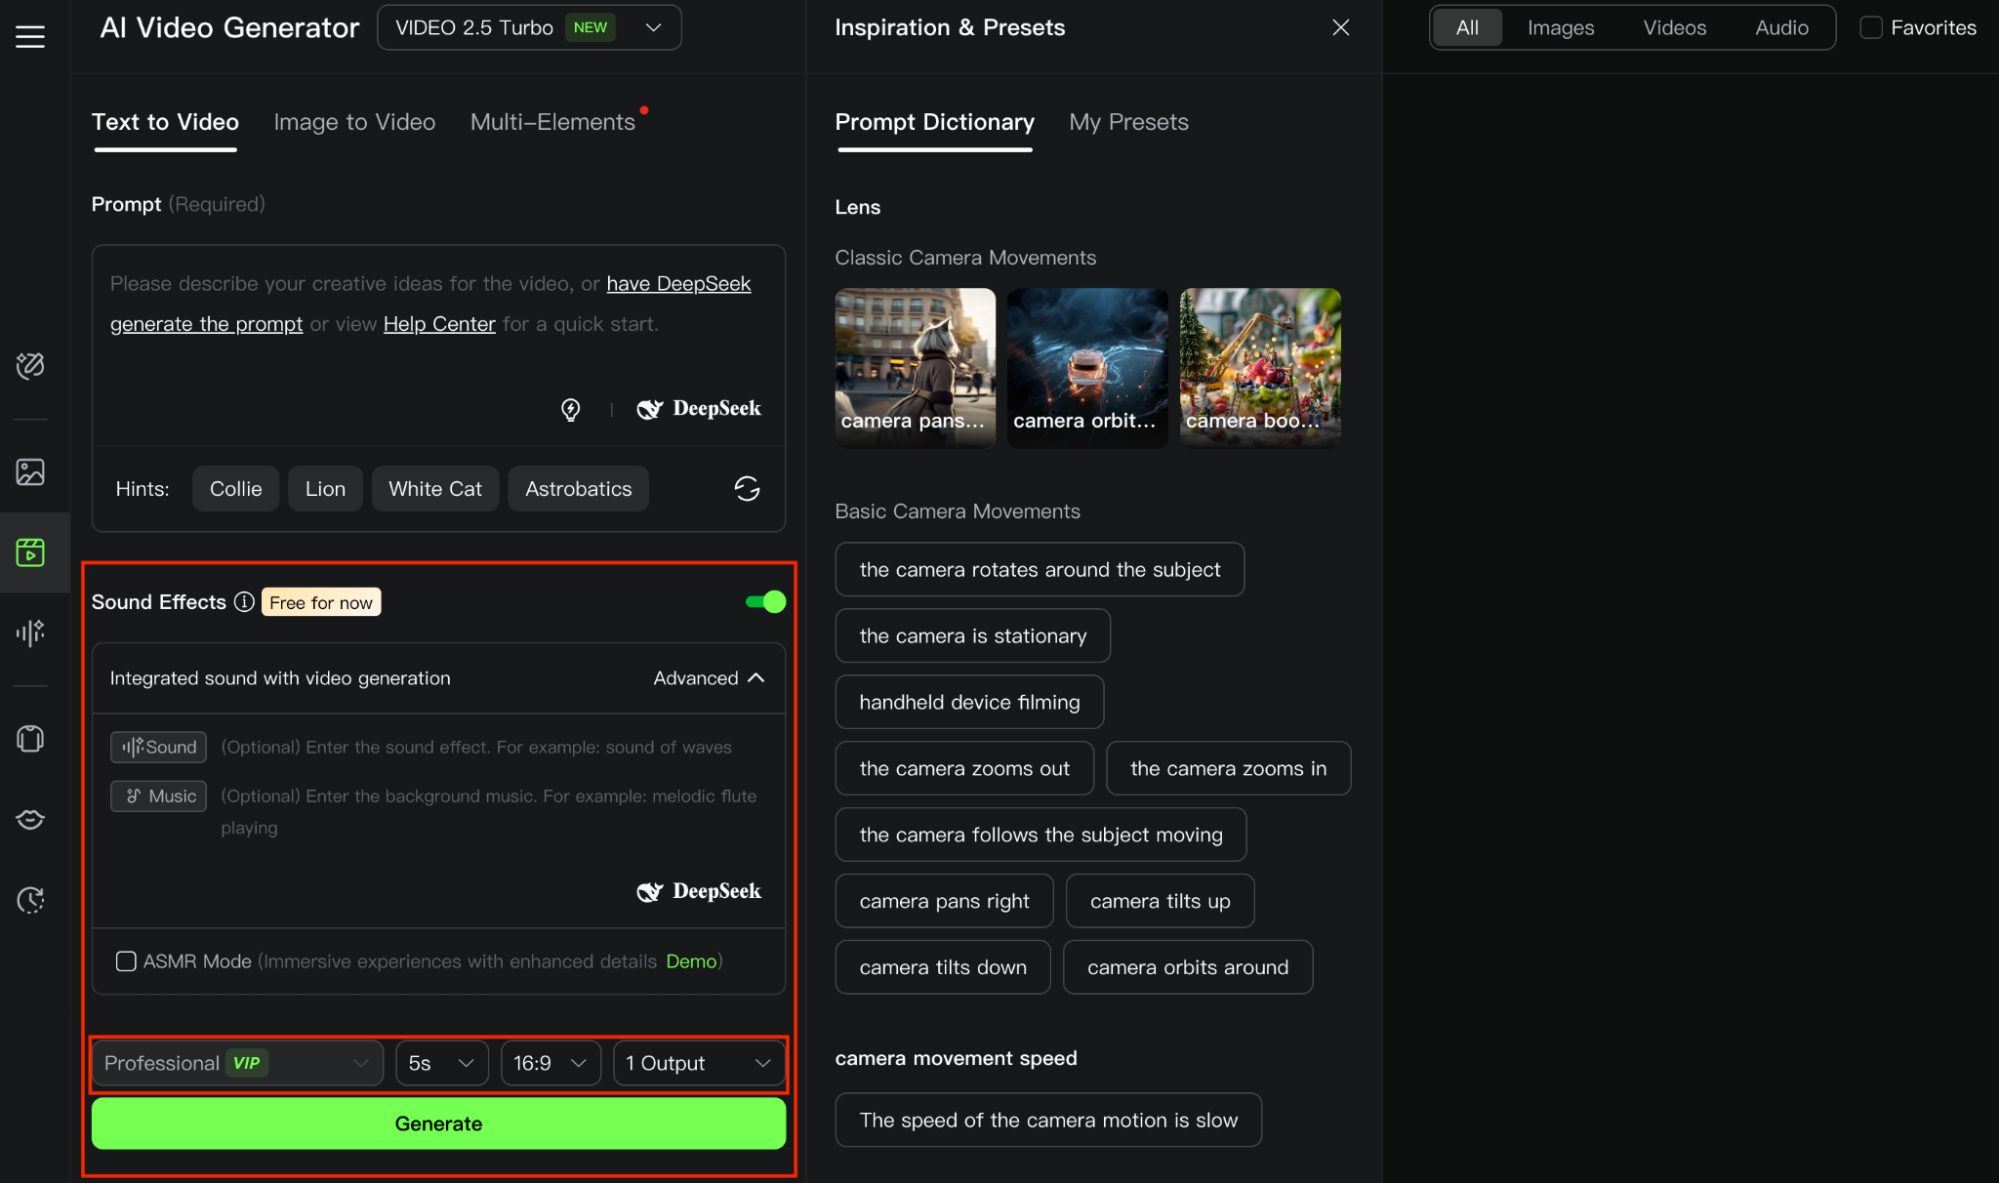
From there, configure your desired settings for duration, aspect ratio, and number of outputs. When ready, click the ‘Generate’ button to create your full video. That’s it!
Now, if you want to generate videos using images, follow the step-by-step guide below:
Image-to-Video Generation
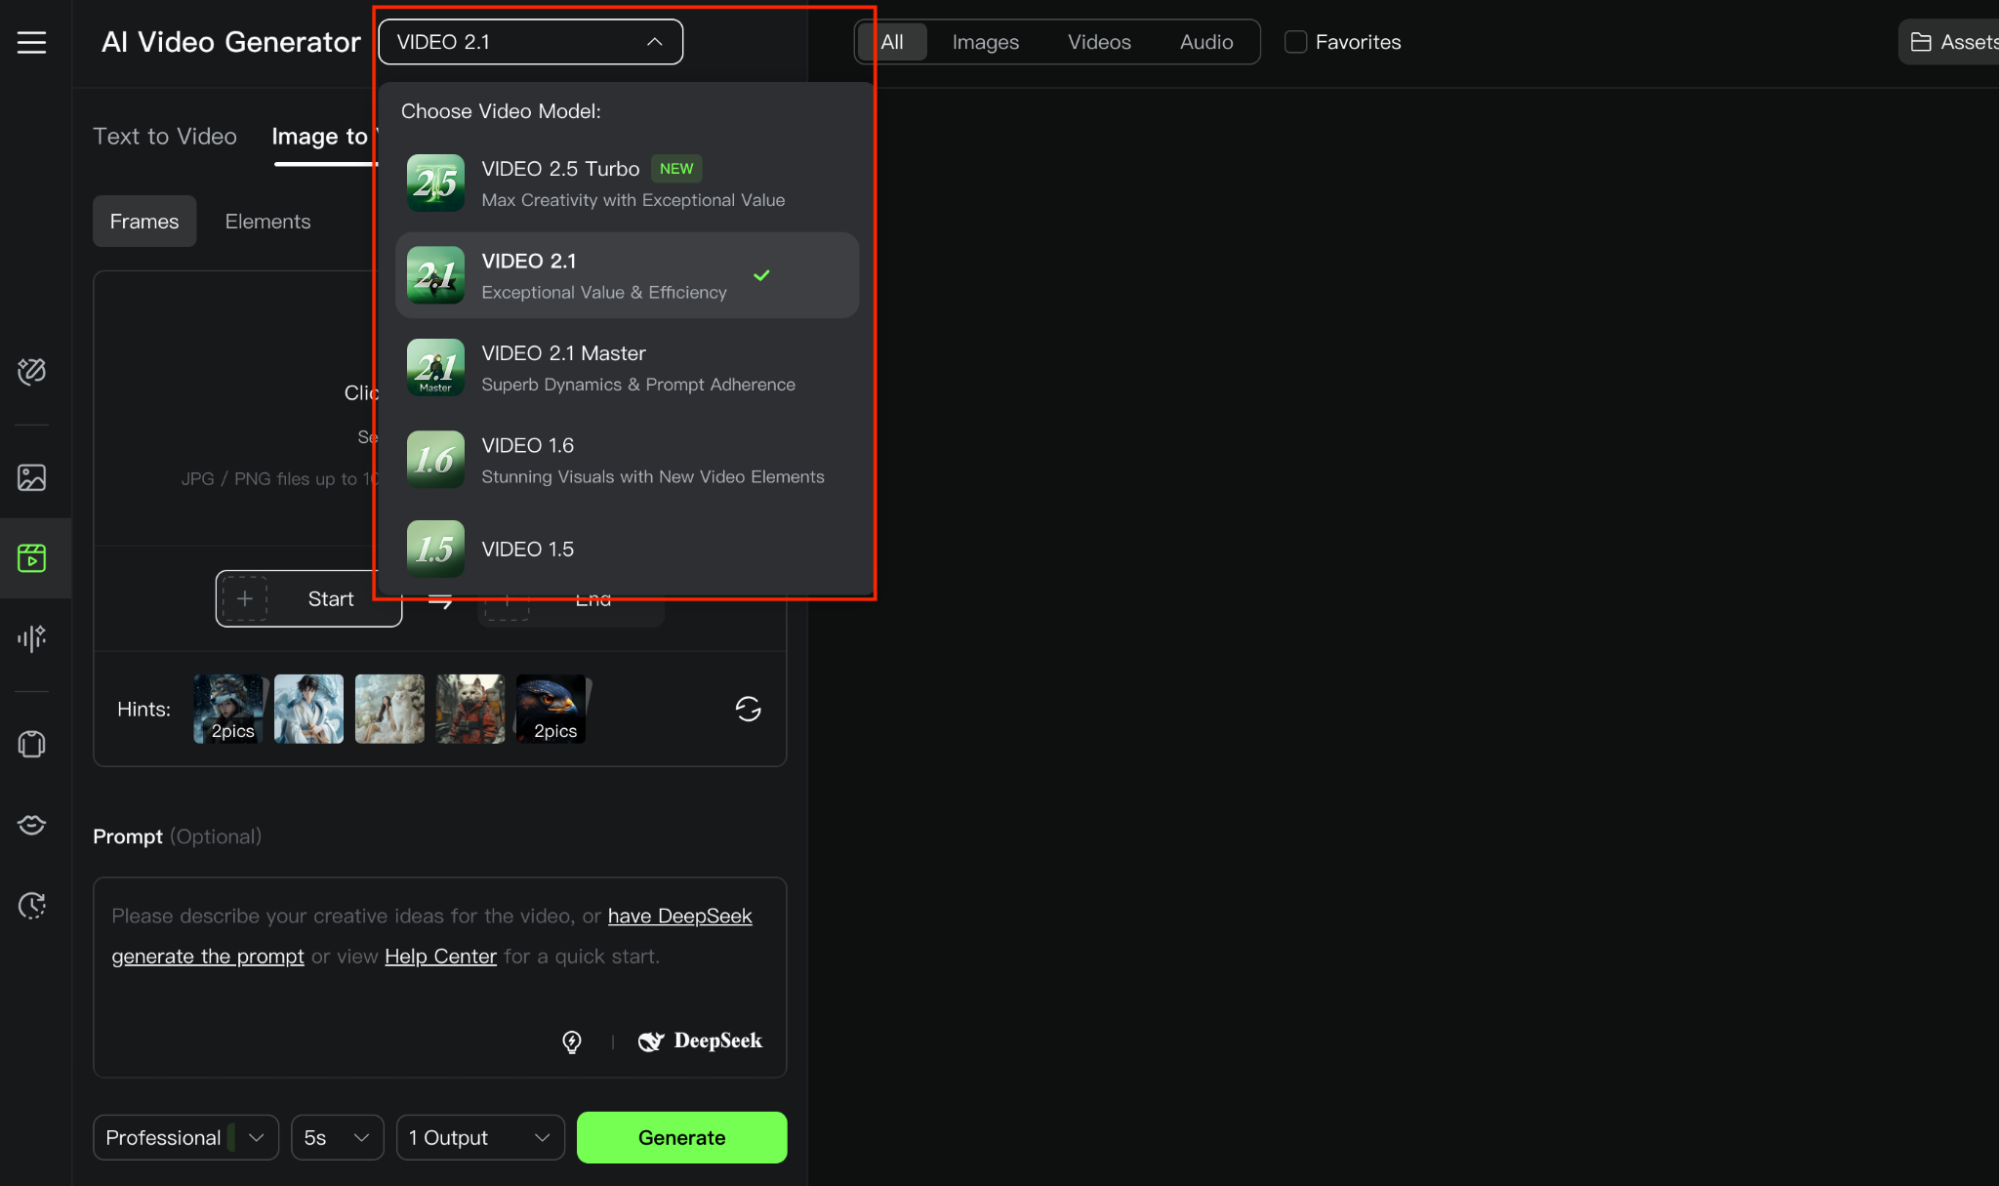
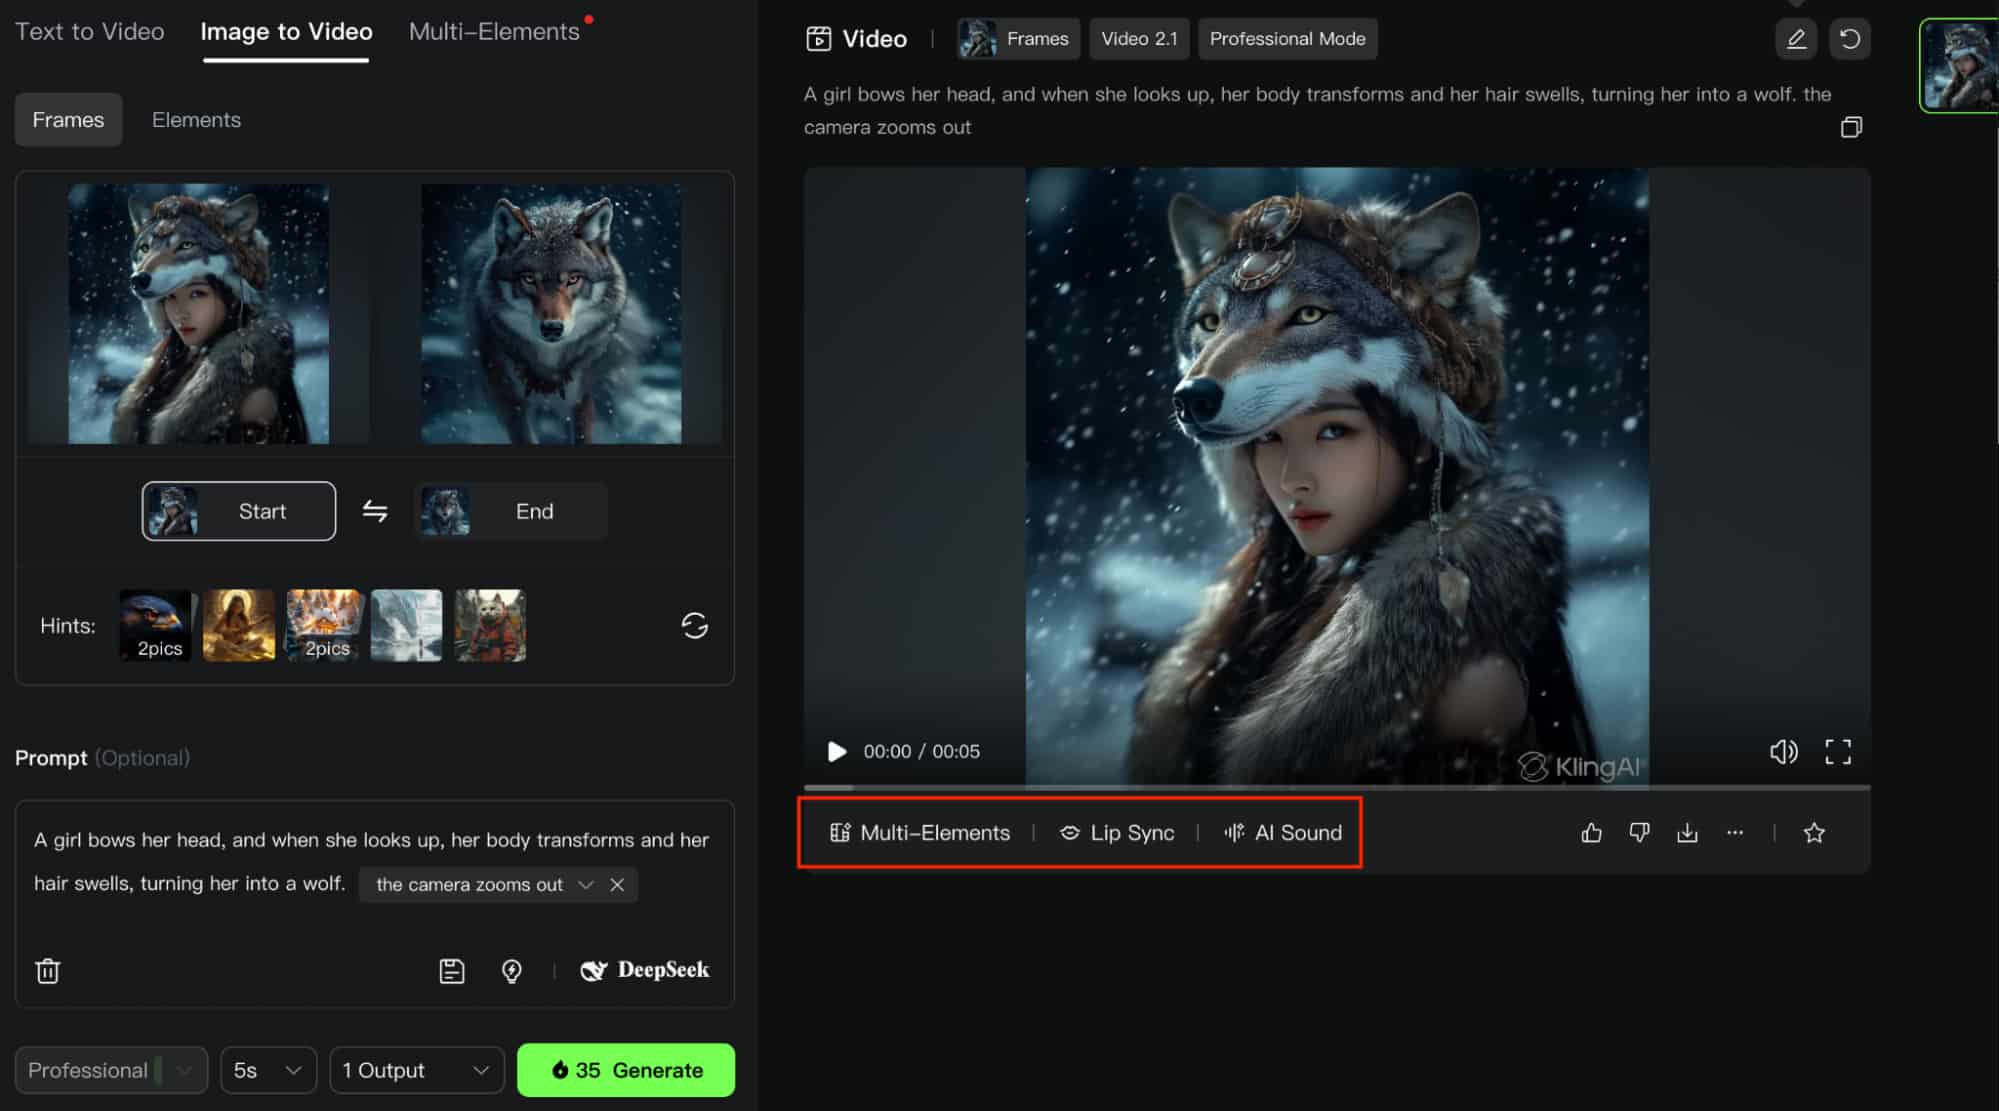
Step 1: To bring static images to life, simply switch over to the ‘Image to Video’ page at the top and select an AI video model. Keep in mind that only some models allow you to use a ‘Start Frame’ and an ‘End Frame’. These are the Kling AI Video 1.5, 1.6, and 2.1 models.
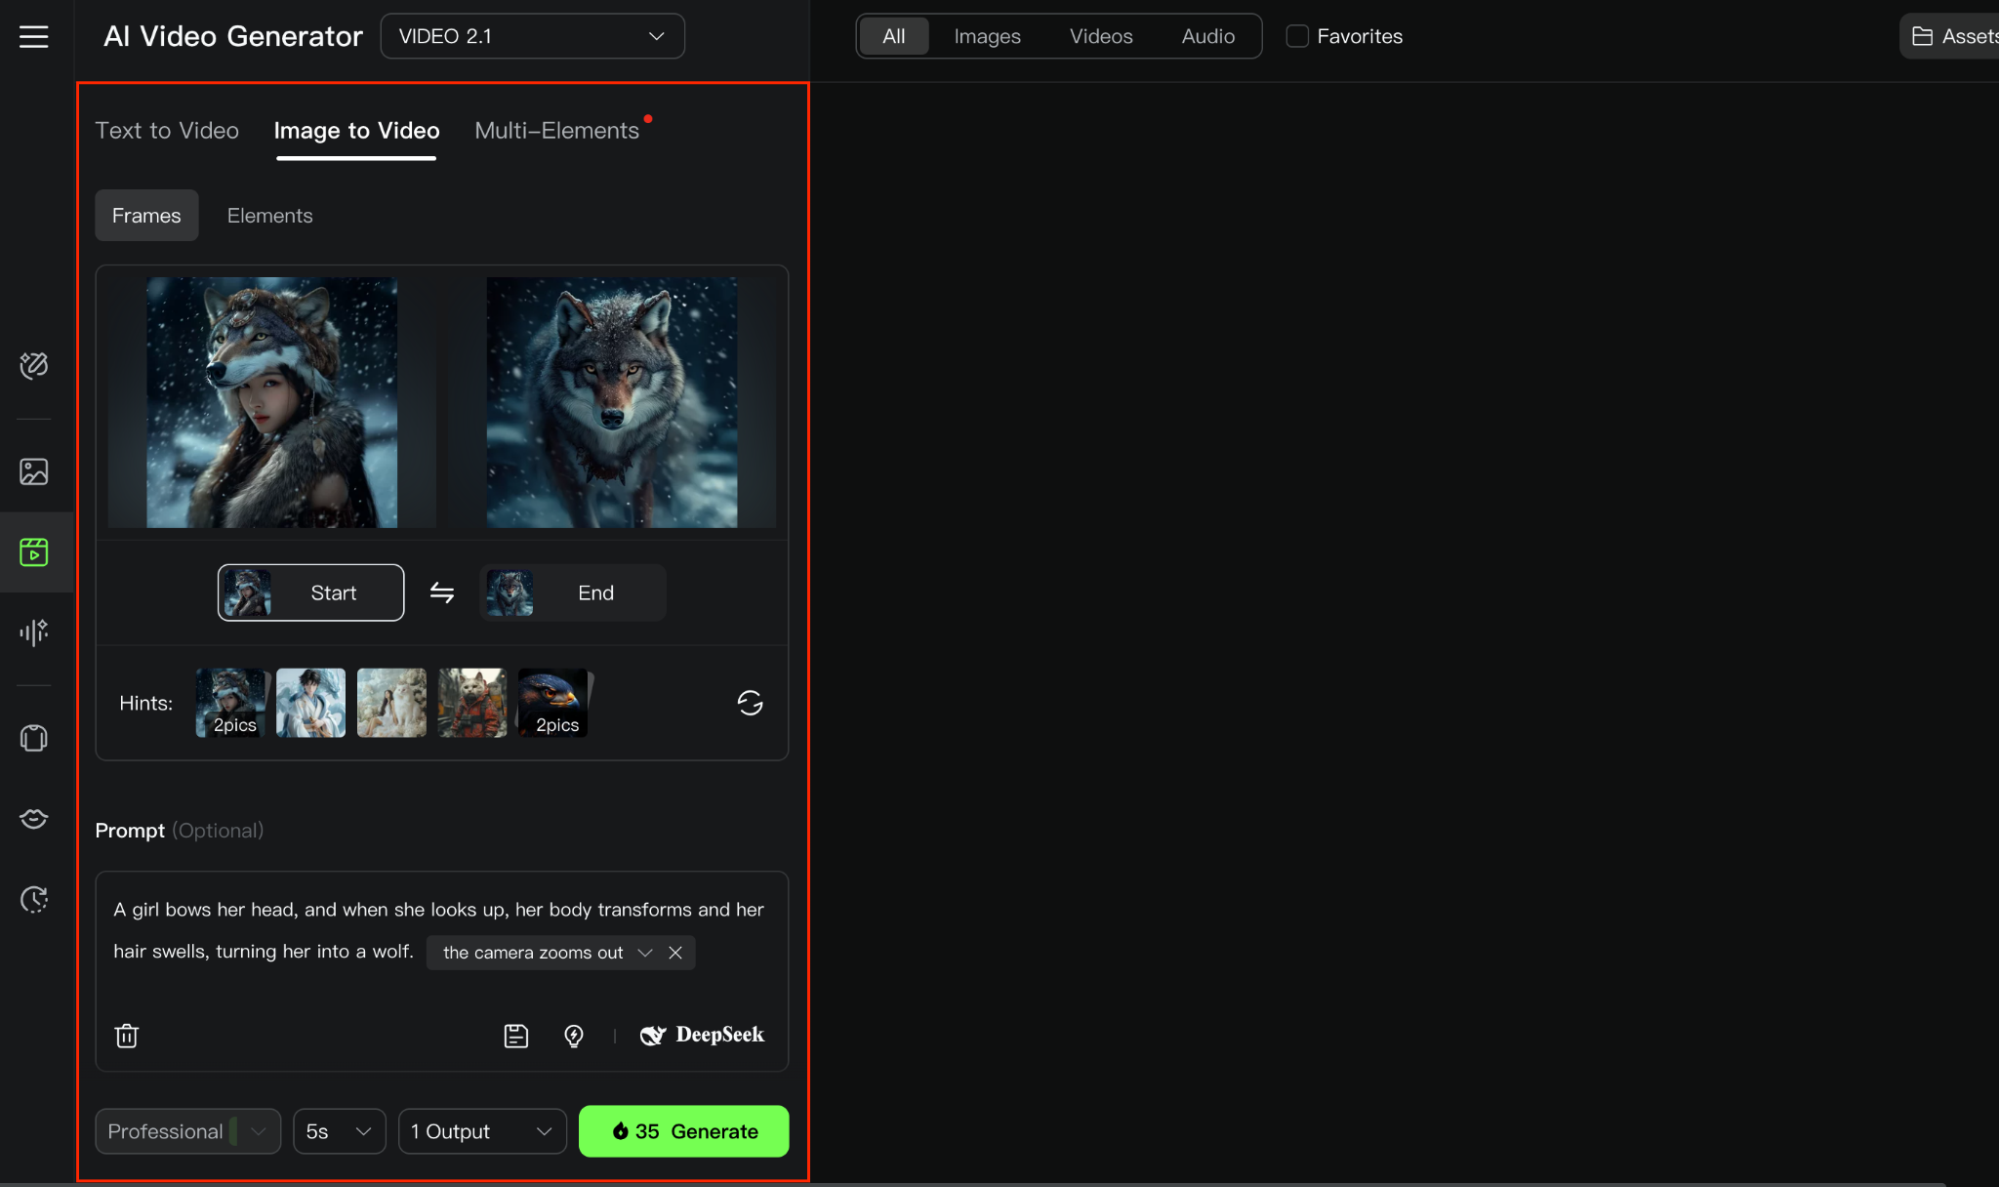
Step 2: Upload a clear image of the scene and input a detailed prompt that describes what you want to see happen in it. Remember, be detailed and concise for the best possible results.
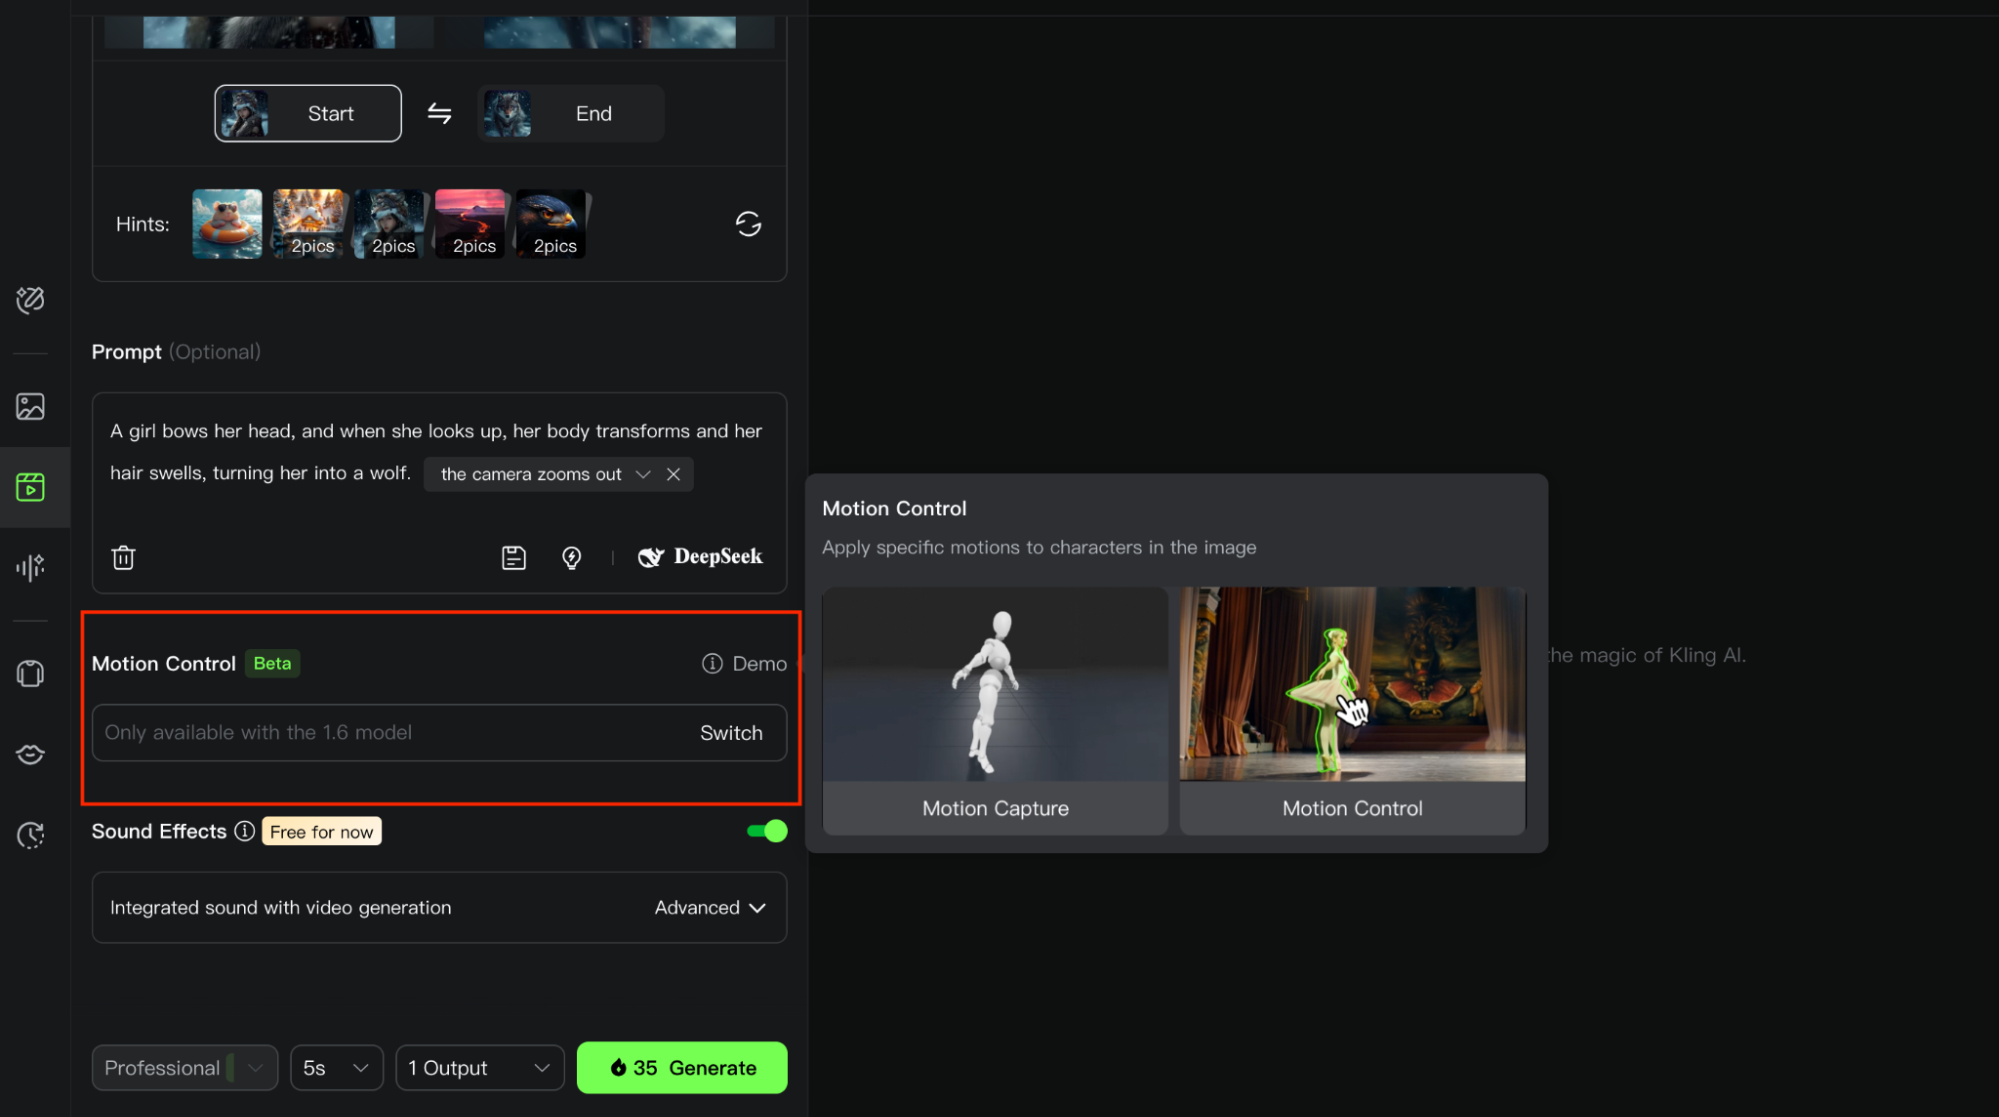
Step 3: If you want precise character movements, you can choose to tweak the ‘Motion Control’ feature, but keep in mind that this is only available on the Kling AI Video 1.6 model.
Step 4: When ready, set your final video configurations and click ‘Generate’. Once completed, you can feel free to edit the generated video using features such as Lip Sync or Multi-Elements.
Need Extra Tips on Using Kling AI for a Quality Experience?
Speaking from personal experience, there are a few best practices that you can put into action to ensure your video outputs are top-tier. Some of these include:
Be Descriptive with Prompts
The text prompts dictate how the scene plays out, so be as descriptive as possible. Don’t just say ‘a cat running on the road’. Instead, I would say, ‘a cat running on a brick pavement on a hot sunny day, while the camera tracks in dynamic motion from a low, forward-moving angle.’
Try Out the ‘Elements’ Feature
When using Image to Video, I would select the ‘Elements’ feature rather than ‘Frames’. This allows you to use up to 4 different images as references for aspects like subject, object, style, and environment for more precise visual outputs that match your creative vision.
Use Free Credits in Off-Peak Hours
Trying to generate videos on Kling AI via the free plan can take ages, especially during peak hours. You’d be better off waiting for off-peak times like early morning, late night, or weekends for faster processing. Alternatively, you can always upgrade to a premium plan.
Use Shorter Durations for Testing
Generating videos can be unpredictable, so for the first generation, I like to select a 5-second render before switching over to 10 seconds for the final output. This way, I can see if the initial output is what I expect and can make changes before spending more credits on a longer video.
Is there a Superior Alternative to Kling AI? Try Using HIX AI
As powerful as Kling AI is, it isn’t perfect. Like many users online, I have had a few issues with this platform regarding slow wait times, quality inconsistencies, occasional generation errors, etc. So, it helps to have an alternative you can count on, which led me to HIX AI video generator.
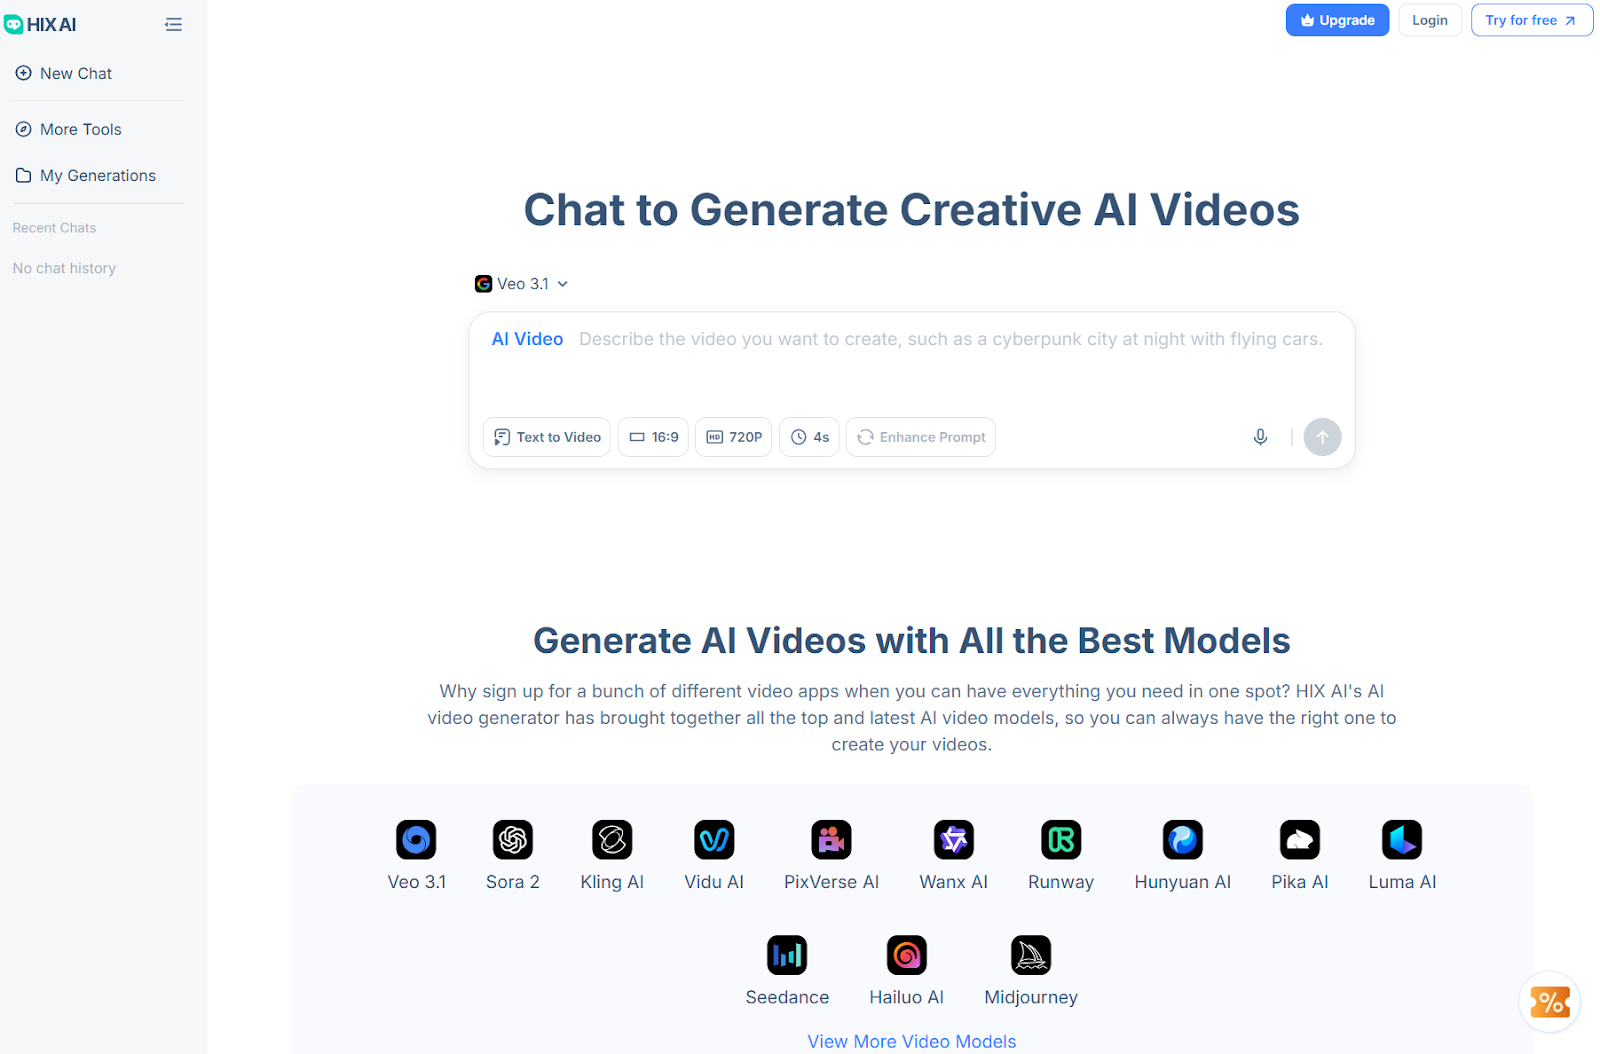
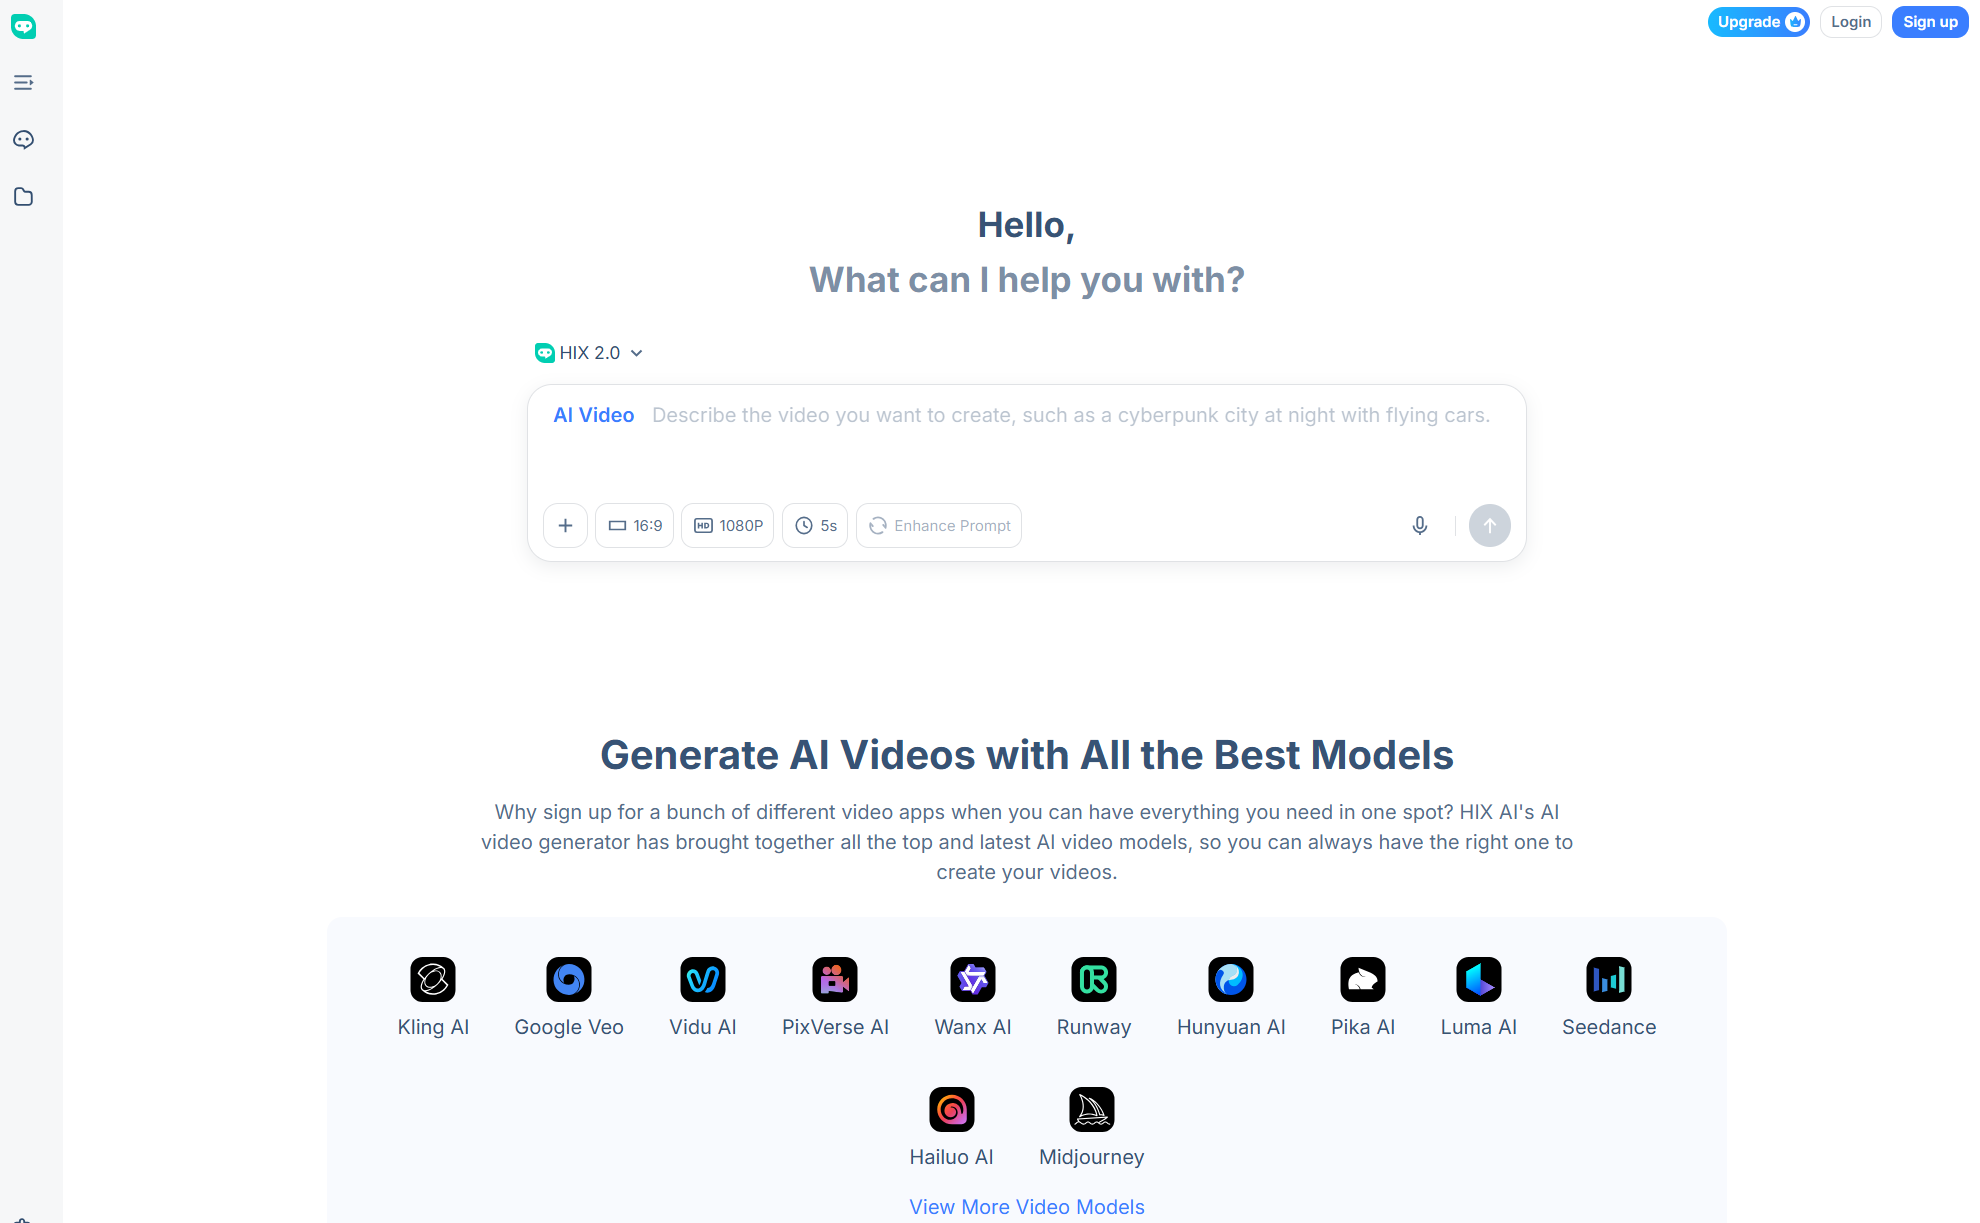
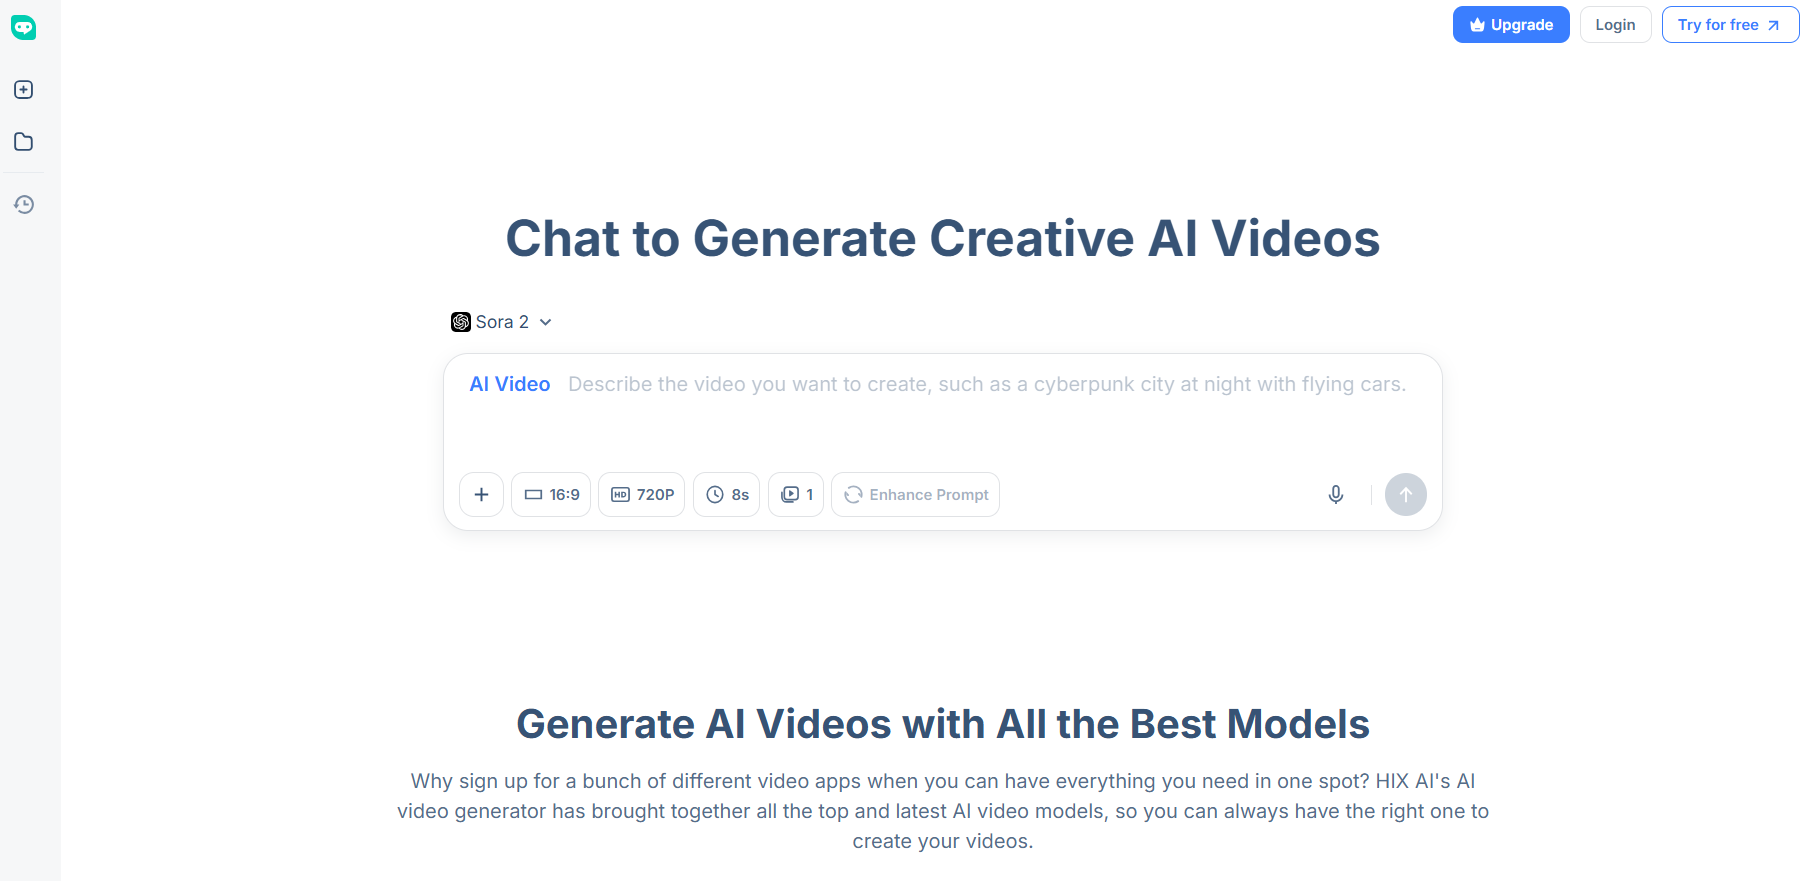
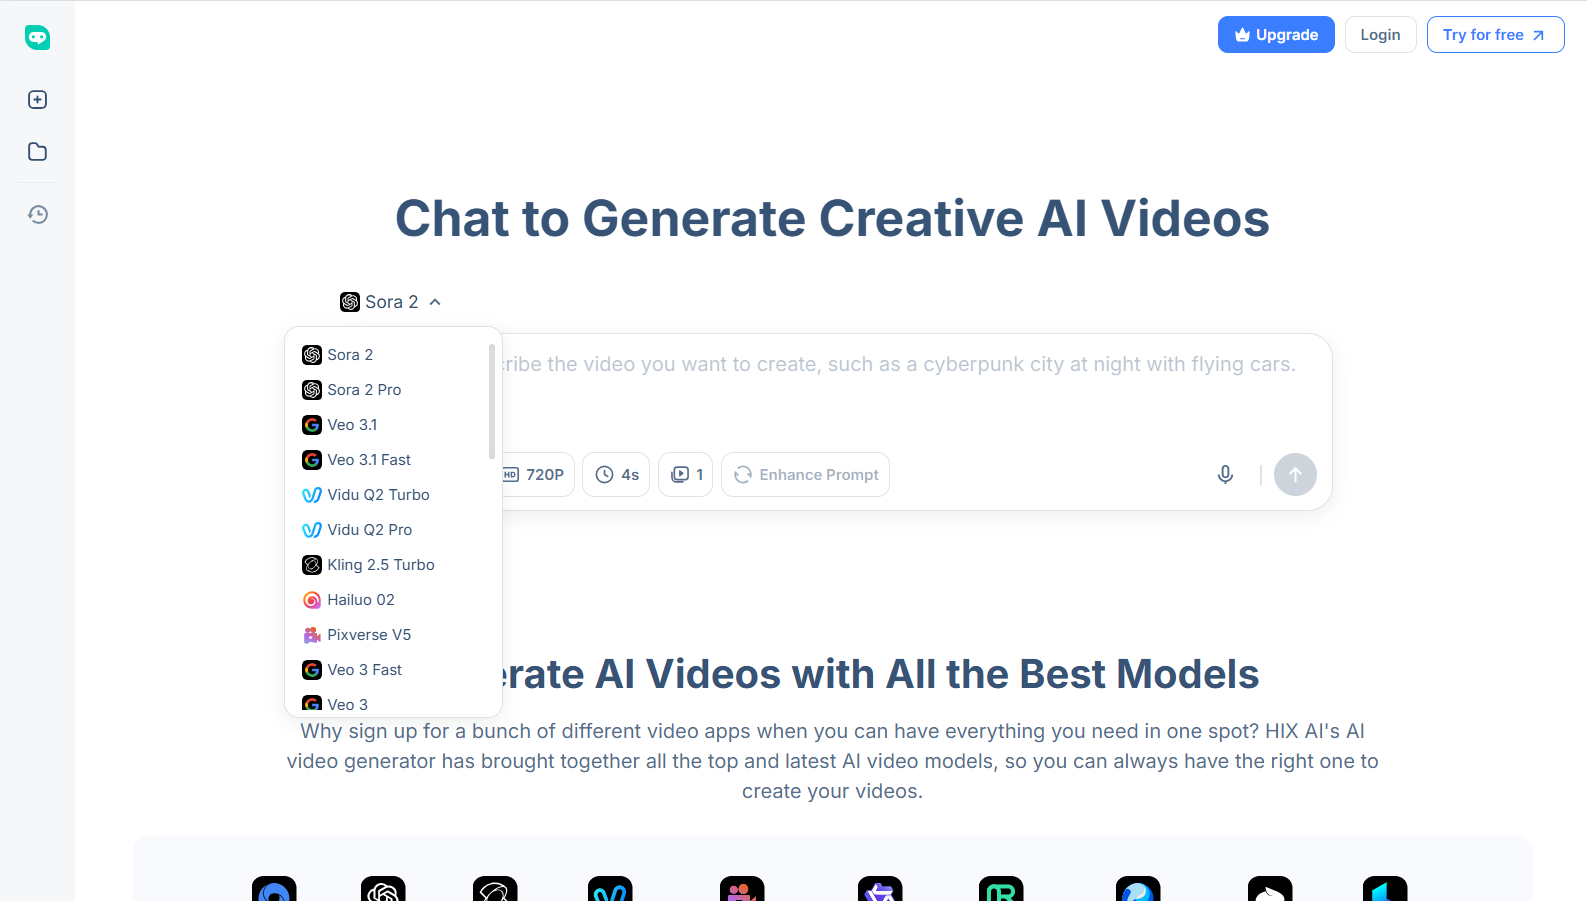
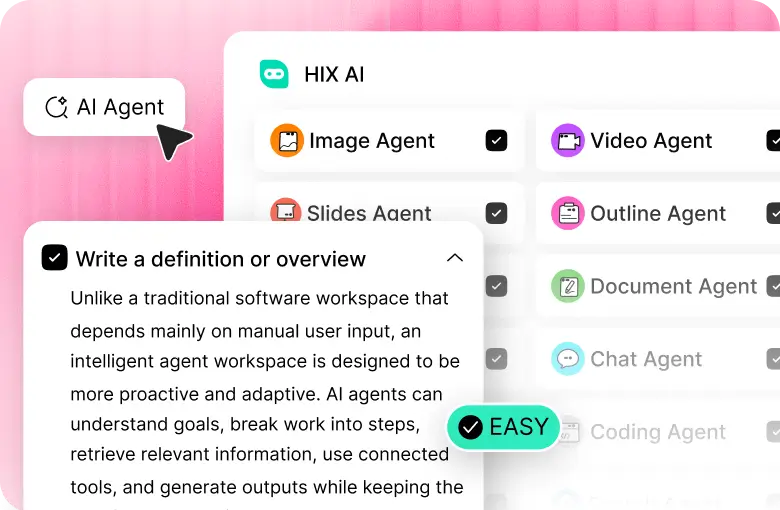
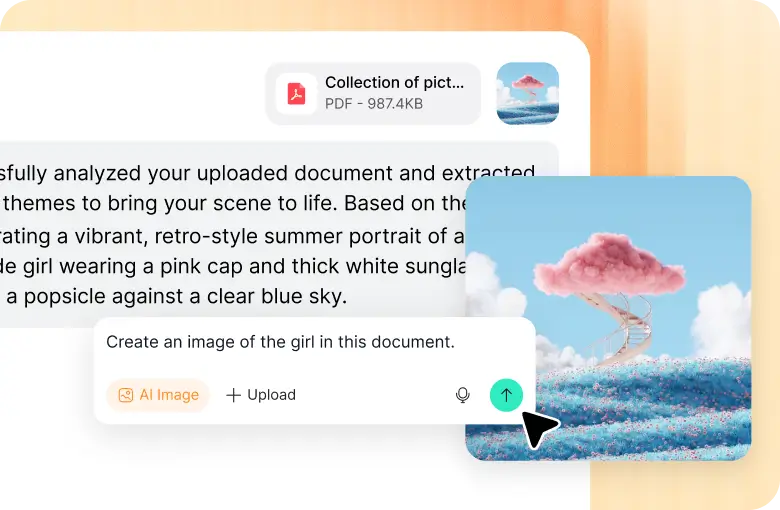
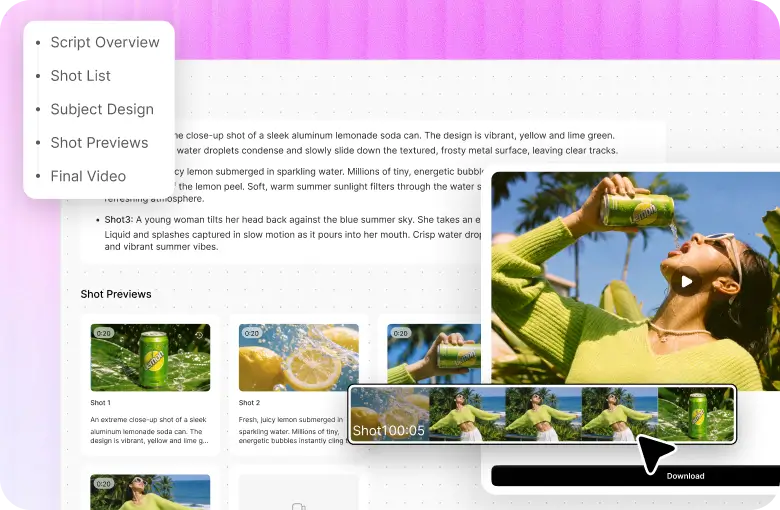
With text to video AI, image to video AI, and video to video AI capabilities, I can produce detailed and immersive visual content in any style via its conversational chat interface.
Whether it is 3D animation, Pixel art, 2D cartoons, anime or real-life cinematics, HIX AI can deliver. But what makes it unique is that it’s integrated with several industry-level AI models.
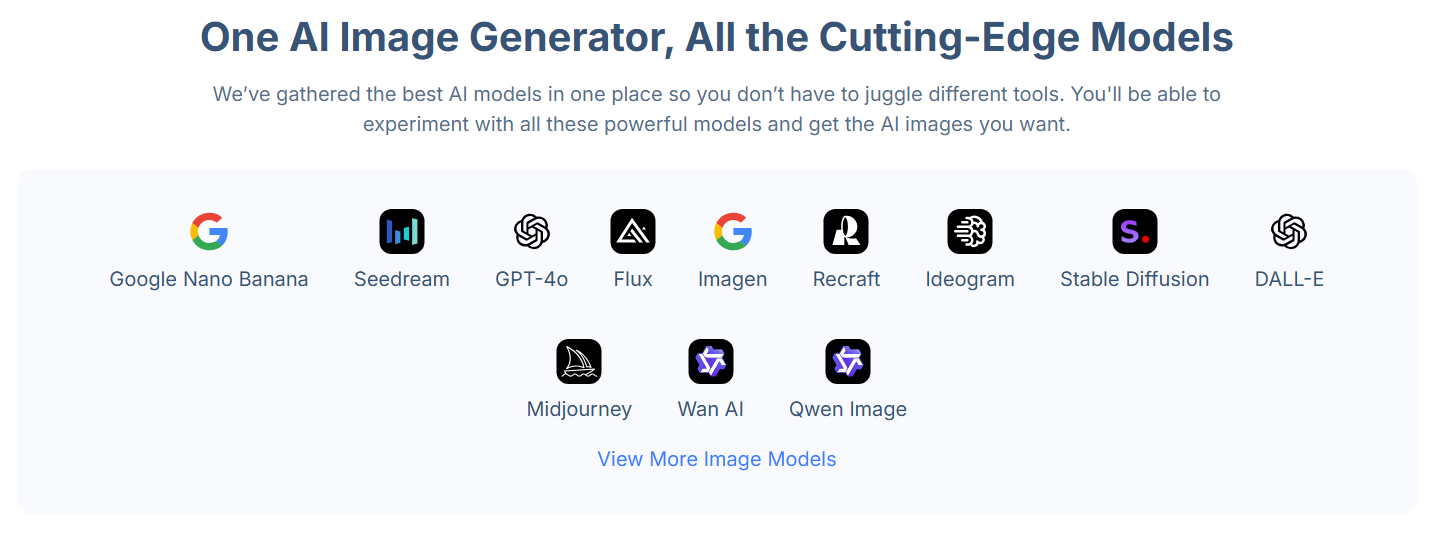
For videos, I can not only access Kling AI models, but also Runway, Sora 2, Google Veo 3.1, PixVerse AI, and Luma AI, among others. And when it comes to image generation, I can use models like Google Nano Banana, Seedream AI, Qwen Image, GPT-4o, Flux, etc.
What’s more? HIX AI has over 200+ video effects like the AI hug generator and AI bikini generator that you can use to create fun, shareable content in just a few clicks!
Conclusion
By this point, you should have a clear idea of how to generate videos with Kling AI. Just follow the steps I have outlined and try to put some of the best practices I’ve suggested into action. And if you decide that Kling AI doesn’t meet your needs, feel free to check out HIX AI instead.
It’s a far more user-friendly and cost-effective solution for any creative workflow. Plus, it has a generous free trial plan that you can use to test its features at no cost.
FAQs
Can I access Kling AI for free?
Yes. You can head over to HIX AI video generator and start using the Kling AI models at no cost via the free trial plan. This will give you limited credits to generate videos. If you want to keep using it, then you will need to sign up for a premium plan.
How do I fix the ‘Failed To Submit Task’ error on Kling AI?
I find that this problem typically comes down to server downtimes, an unstable internet connection, browser cache issues, or a lack of credits. Try to reset your internet, clear your browser cache, and replenish your account credits. If the problem is still there, contact support.
What do I do if my Kling AI generation fails?
This can often be due to overloaded servers, an attempt to create explicit content, or device limitations. To fix this, wait before trying again, check your prompts/file uploads for NSFW elements, and try to clear space on your device. If all that fails, reach out to the support team.
How do I get faster video generations on Kling AI?
You will need to upgrade to a higher tier to generate videos faster. Head over to the pricing page to see what options best fit your budget. Alternatively, you can use HIX AI. Even on the free plan, all your images and videos will be generated swiftly and efficiently.